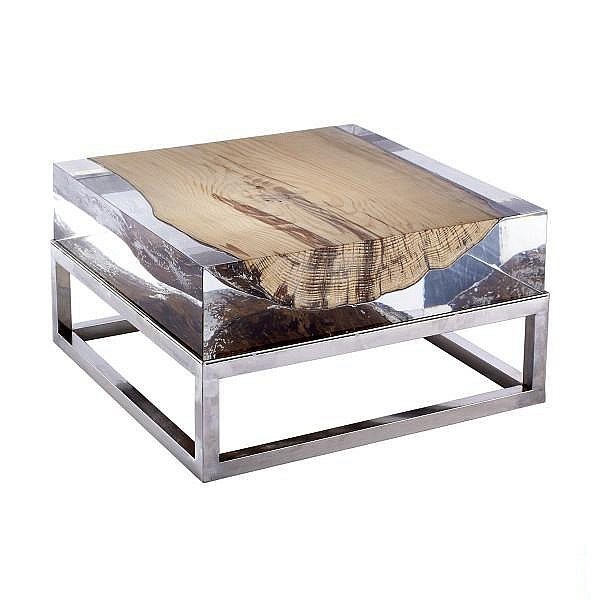
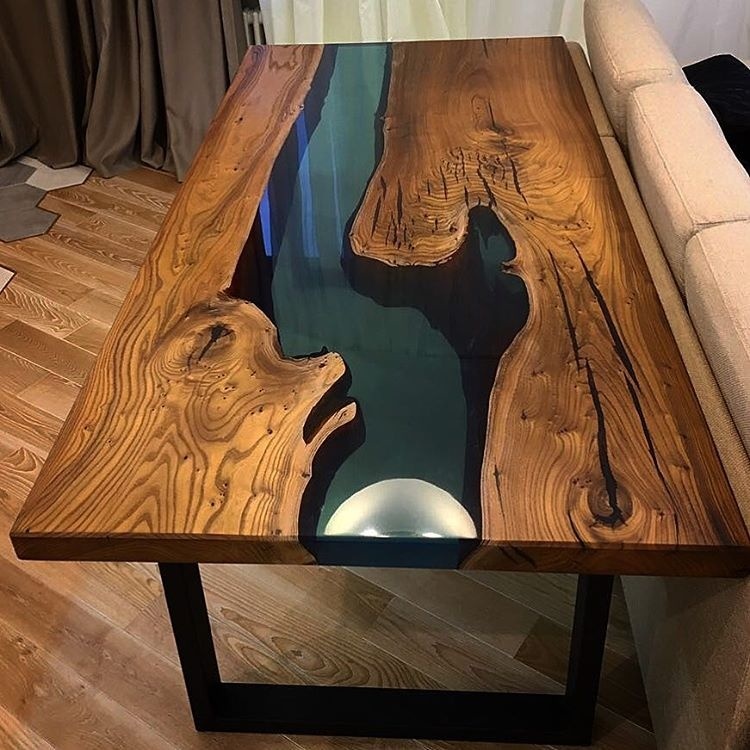
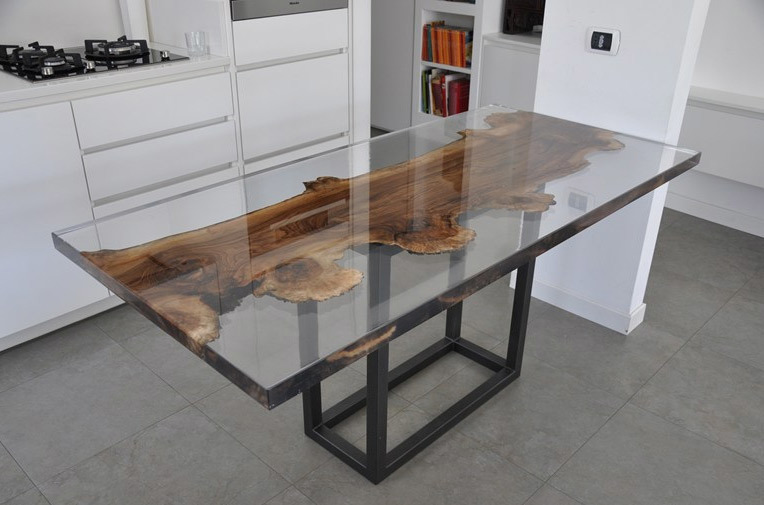
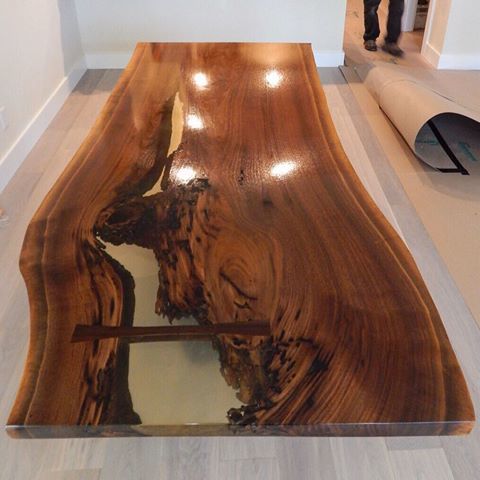
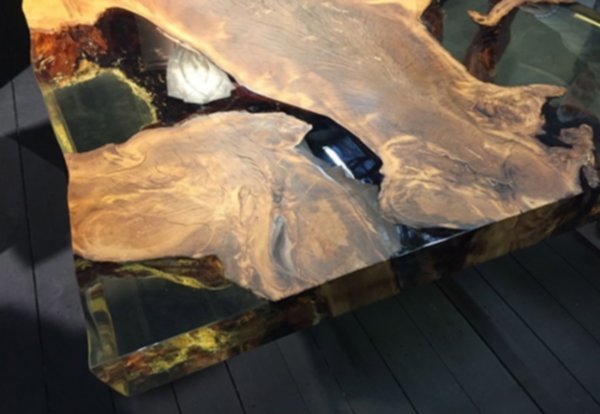
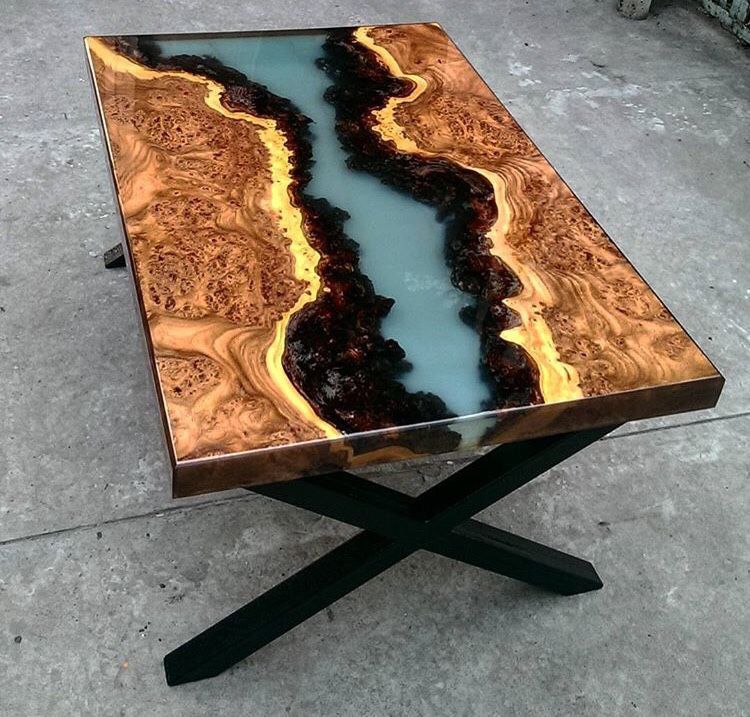
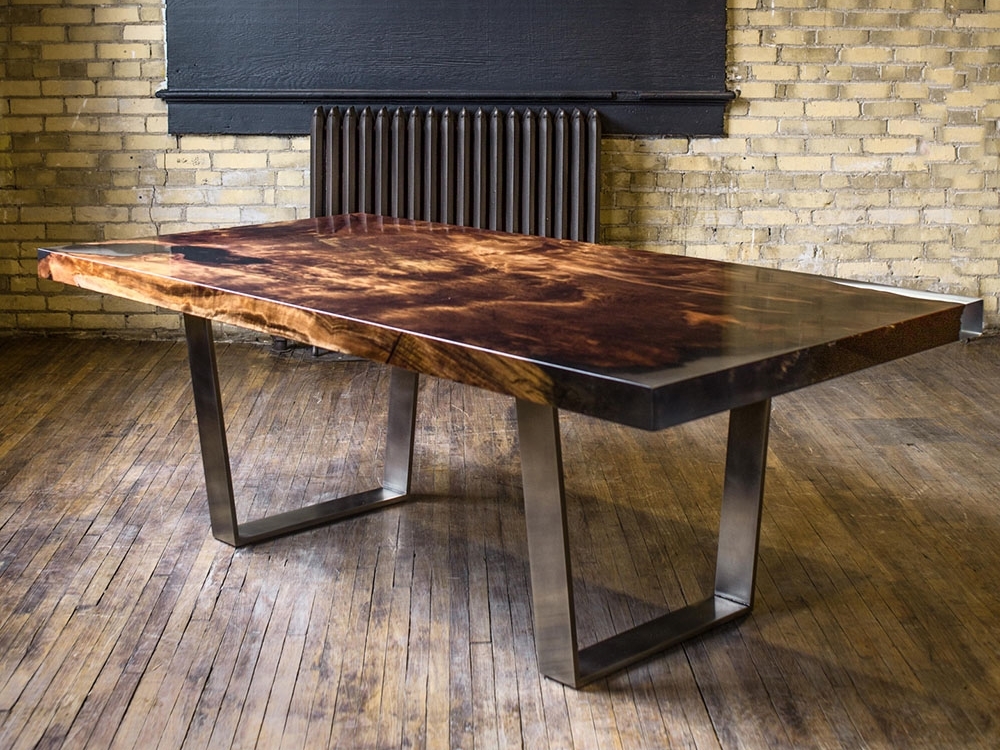
The DIY Epoxy Resin Table looks unusual. Due to resin usage, it is possible to make unique designs that look amazing in any interior. With epoxy, you can turn ordinary wood into a real piece of art!
If you want to see more woodworking and crafting wizardry — check out our Woodworking and Crafting eBook! 🙂
Material features
Epoxy resins are synthetic compounds of oligomers. This material is not used in its “pure” form. Its properties appear only after contact with the hardener.
By changing the combination of the main components, resins with different characteristics can be made:
- Solid
- Liquid
- Durability
- Rubber-like and others
If you want to see more woodworking and crafting wizardry — check out our Woodworking and Crafting eBook! 🙂
The scope of application of the epoxy resin depends on its modification. The list and features of the latter are given in the table below.
| Type | Specifications |
|---|---|
| Chemical | To obtain it, various chemicals are added to the resins that come into contact with them (polyether alcohols and others). These components change the characteristics of the main ingredient. |
| Physical | The modification is obtained by adding a substance to the resins that do not bond with them. |
DIY Epoxy Resin Table is made by applying a synthetic material to a wooden base. The result is a product that is highly resistant to chemicals.
If you want to see more woodworking and crafting wizardry — check out our Woodworking and Crafting eBook! 🙂
To make a table from epoxy resin, it is necessary to mix synthetic material and hardener in addition to preparing the wooden base. The characteristics of the composition depend on the ratio of both components. Excessive or insufficient content of the hardener helps to reduce:
- Table durability
- Resistance to chemicals and water
In this case, the excess hardener comes out of the resin. In most cases, in the process of manufacturing various products using this material, the ratio of the initial components is 1:1 or 1:2
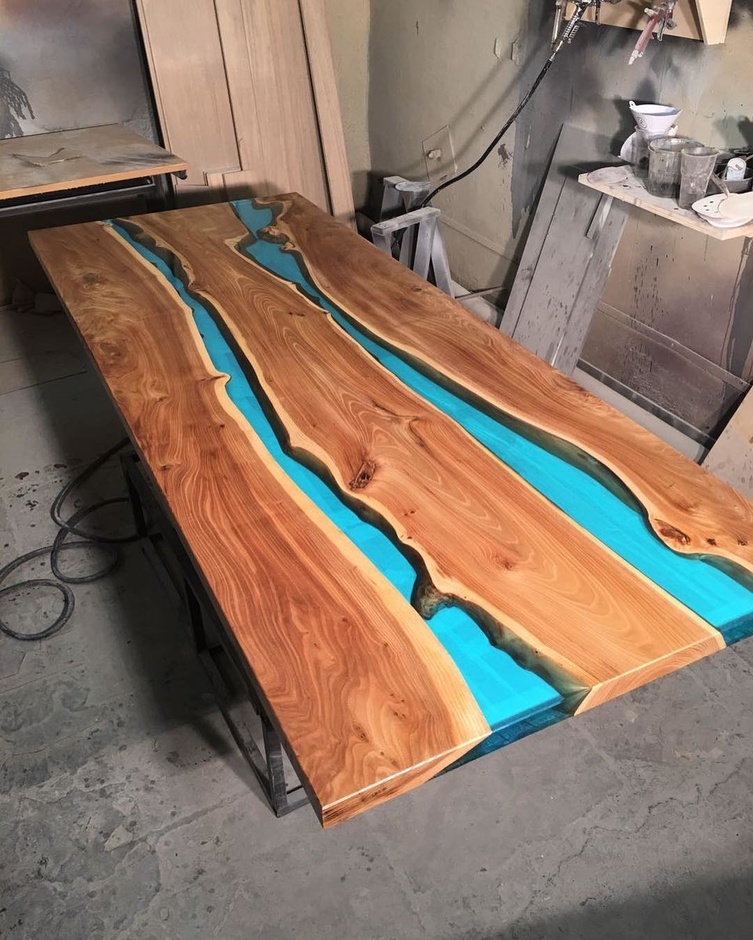
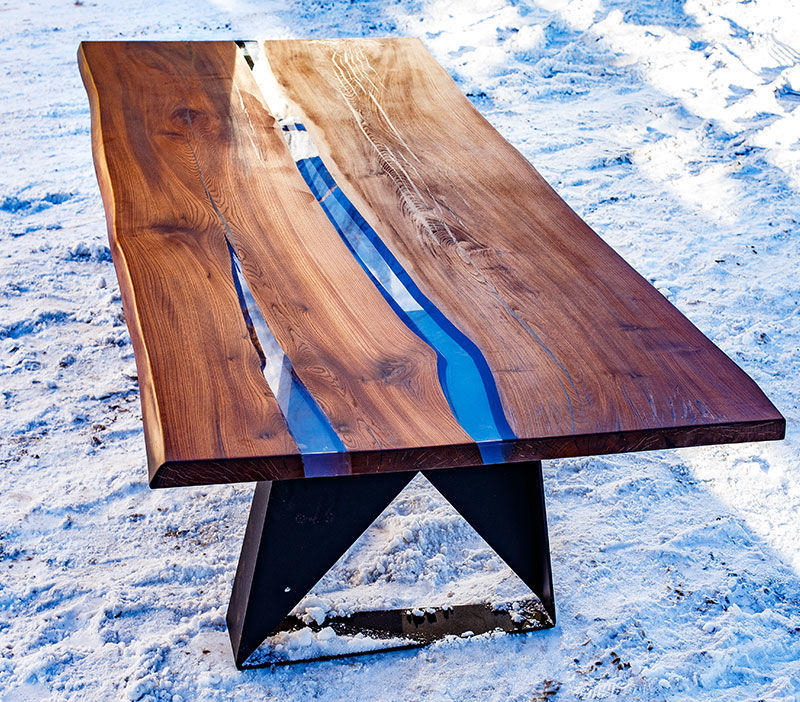
Epoxy tables differ in appearance and characteristics of the synthetic material. The latter can be cold or hot. For the manufacture of river tables from resin at home, the first type of substance is mainly used.
If you want to see more woodworking and crafting wizardry — check out our Woodworking and Crafting eBook! 🙂
Pros and Cons of a DIY Epoxy Resin Table
Epoxy tables offer the following advantages over standard wood structures:
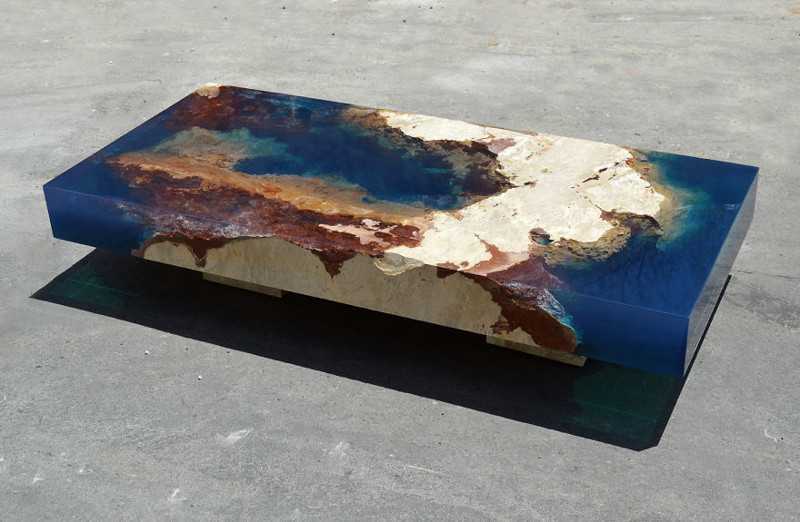
- Have a unique appearance
- Waterproof
- Unlimited possibilities for design solutions
If you want to see more woodworking and crafting wizardry — check out our Woodworking and Crafting eBook! 🙂
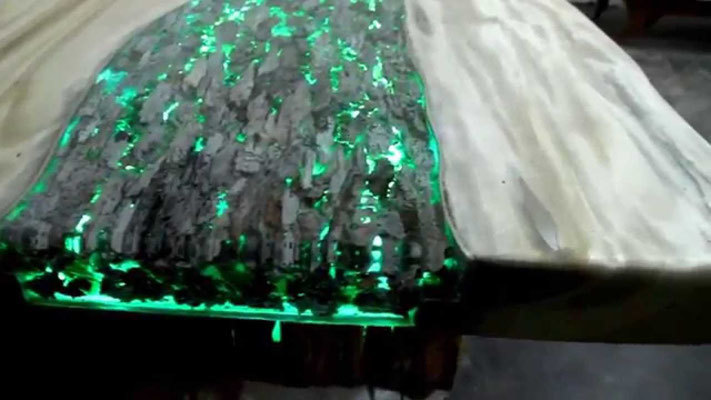
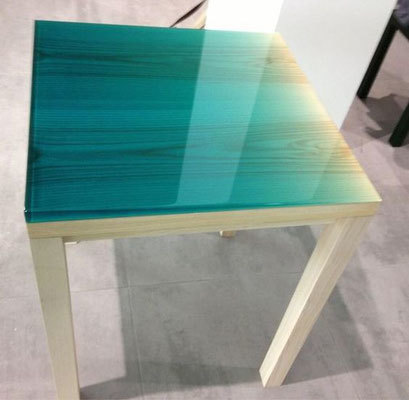
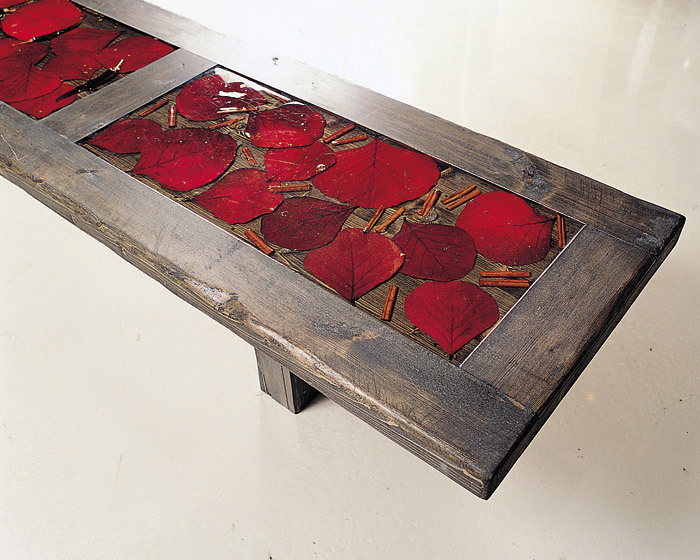
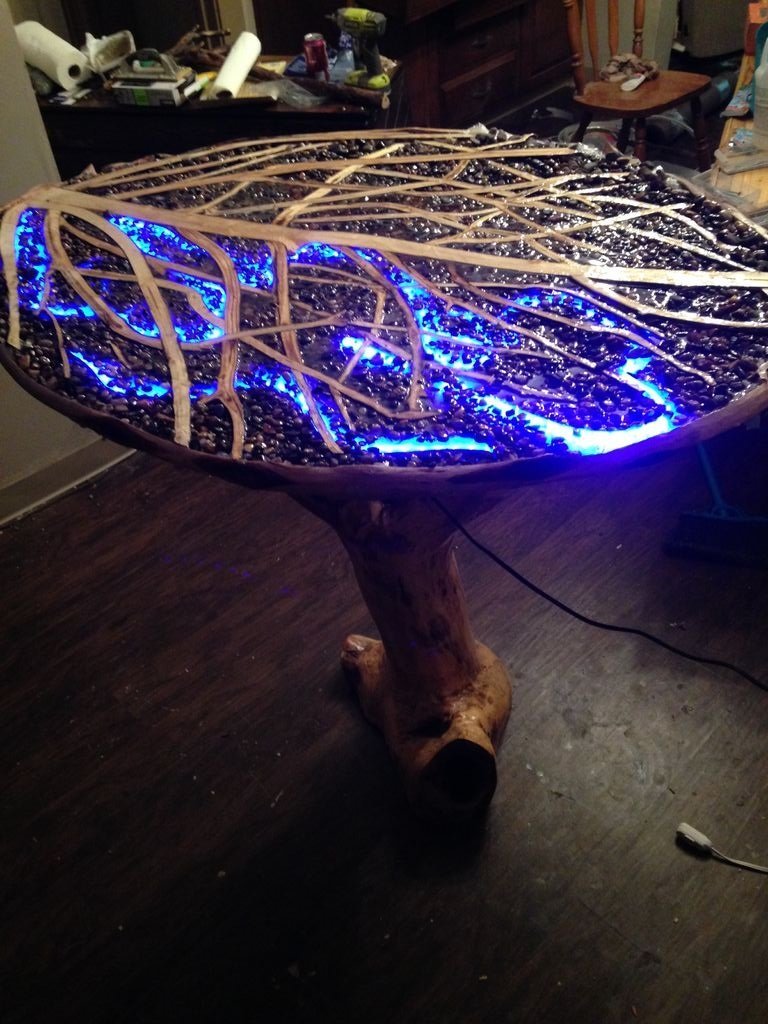
In the process of hardening, the synthetic composition practically does not shrink. Epoxy tables can be made using additional materials:
- Phosphorescent and other paint
- Rubber
- Wine bottle caps and so on
Among the disadvantages of epoxy resin tables, their higher cost stands out. Depending on the table type, size, and design, the price for covering one table takes tens of liters of synthetic material.
If that sounds like a deal-breaker, you consider something a bit more affordable along the lines of the Wooden Coffee Table or a DIY Farmhouse Dining Table!
When making an epoxy table, pay attention to the presence of bubbles. They appear as a result of non-compliance with the manufacturing technology of the product and negatively affect its characteristics.
If you want to see more woodworking and crafting wizardry — check out our Woodworking and Crafting eBook! 🙂
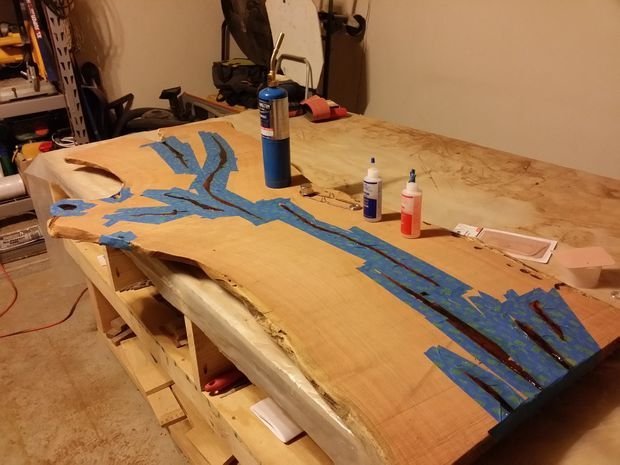
In the process of creating a structure, it is important to prepare the wooden surface by removing dirt from it. After that, the material should be primed, since the resin is well absorbed into its pores. In the future, the surface of the countertop will be covered with air bubbles.
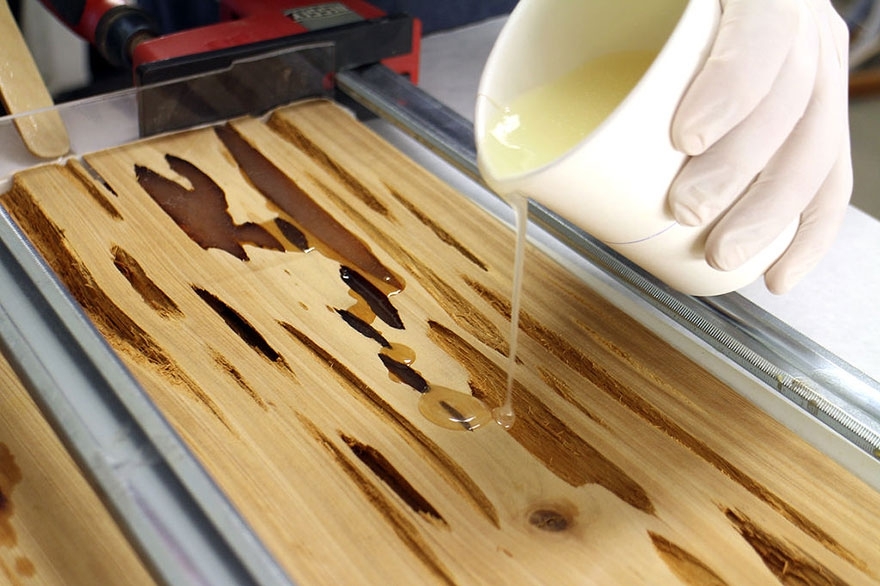
At the end of the preparatory stage, an epoxy compound (resin and hardener) is mixed, to which paints and other components are added, if desired. The resulting substance is applied to a wooden surface. It takes about 15 minutes to fully harden. To remove the air bubbles that appear, you should warm up the surface with a construction hairdryer.
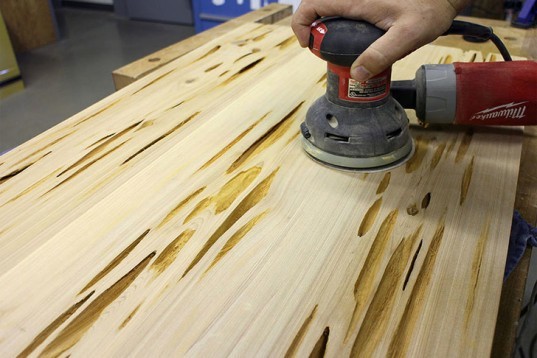
Finally, the table top is sanded and polished. It takes about 7 days to manufacture the entire structure, during which the material gains strength.
If you want to see more woodworking and crafting wizardry — check out our Woodworking and Crafting eBook! 🙂
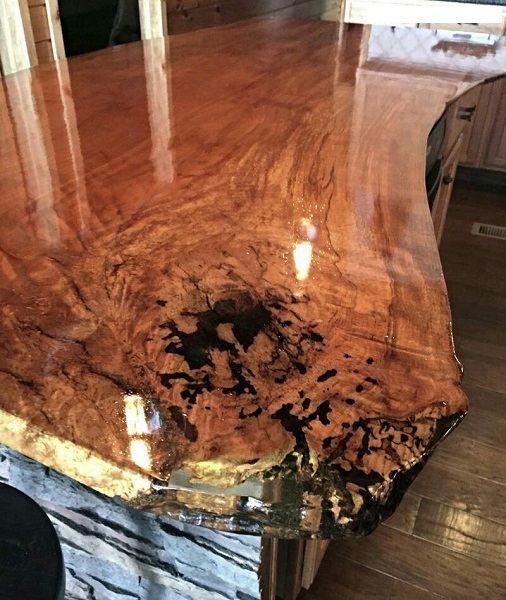
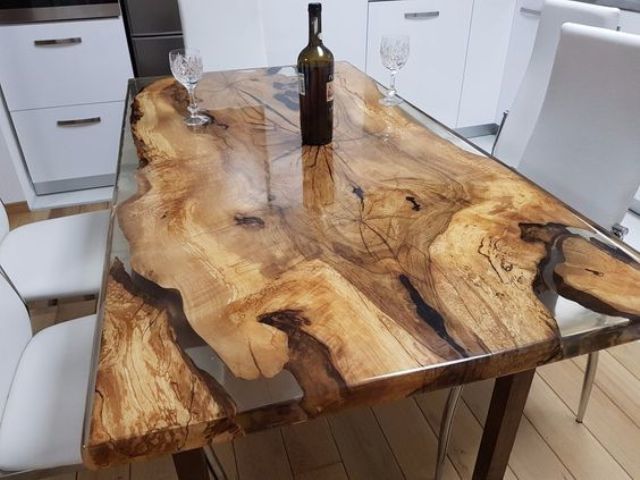
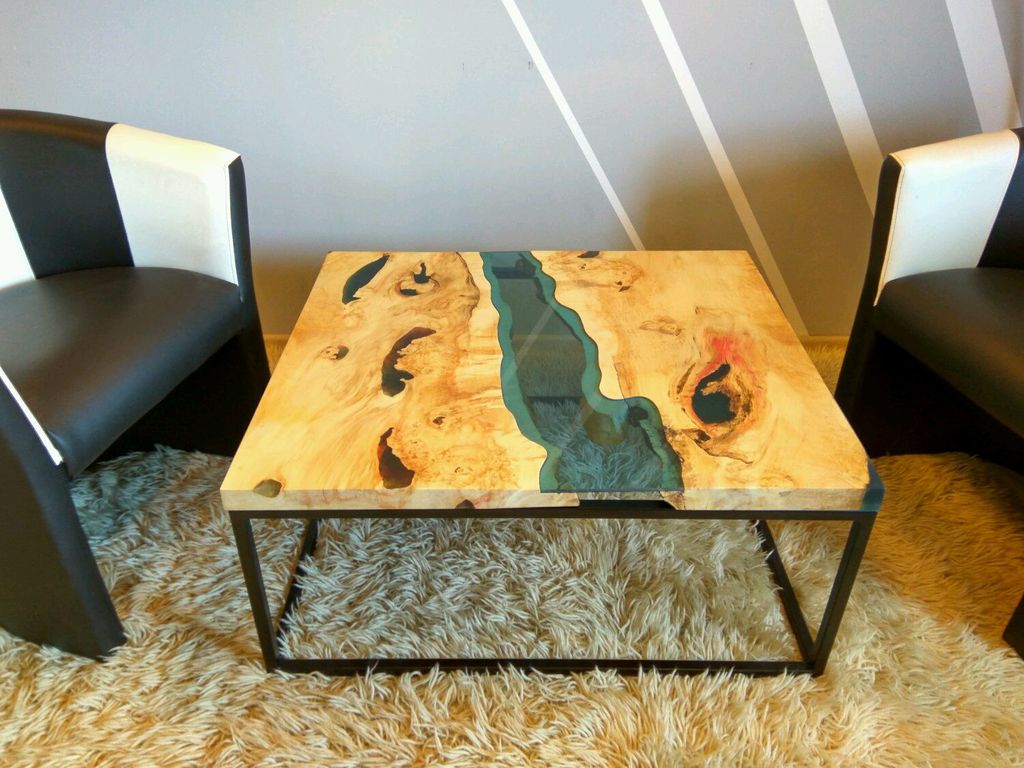
P.S. Bonus 25+ Ideas on how to make a DIY Epoxy Resin Table and using it in the interior of your house and outdoors:
If you want to see more woodworking wizardry — check out our FREE 50 woodworking plans eBook 🙂