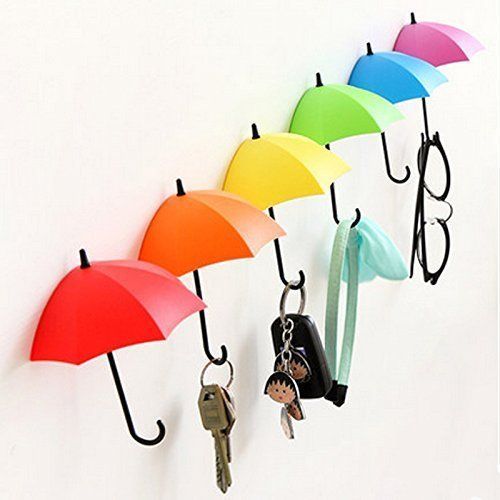
If you are in the habit of losing and forgetting sunglasses, a mobile phone, or other important little things, a DIY Key Holder will become your reliable assistant.
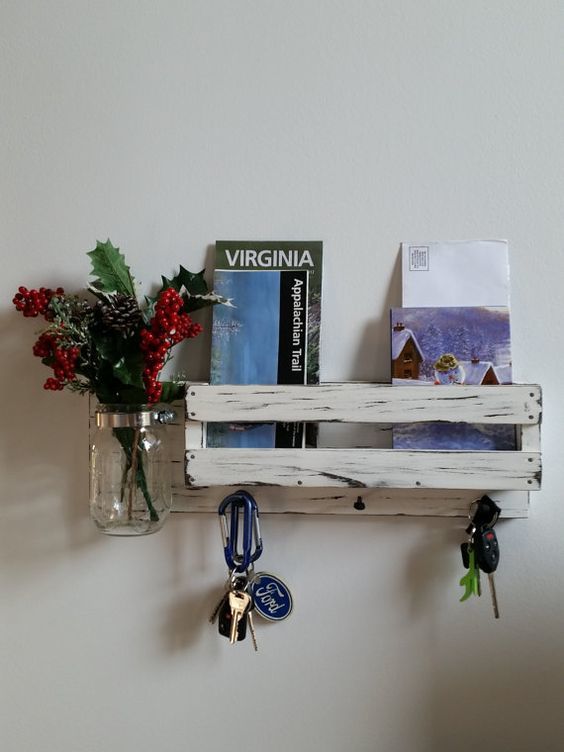
A wall-mounted key hanger (perhaps even with a shelf) is designed to store small household items, it comes in several types and is located at eye level in the corridor of your house.
The key organizer can be not only a helper against forgetfulness but also a great addition to the interior. But how to make the key-rack the right way? That’s what we are here to find out. Let’s get started!
If you want to see more woodworking and crafting wizardry — check out our Woodworking and Crafting eBook! 🙂
What are our DIY Key Holders Options?
Such a decorative element as a homemade key hanger would complement your hallway, become a practical and convenient solution for everyone who loses their keys. The appearance and shape depend on the owner’s imagination. Let’s go through what kinds of hand-made key racks there are.
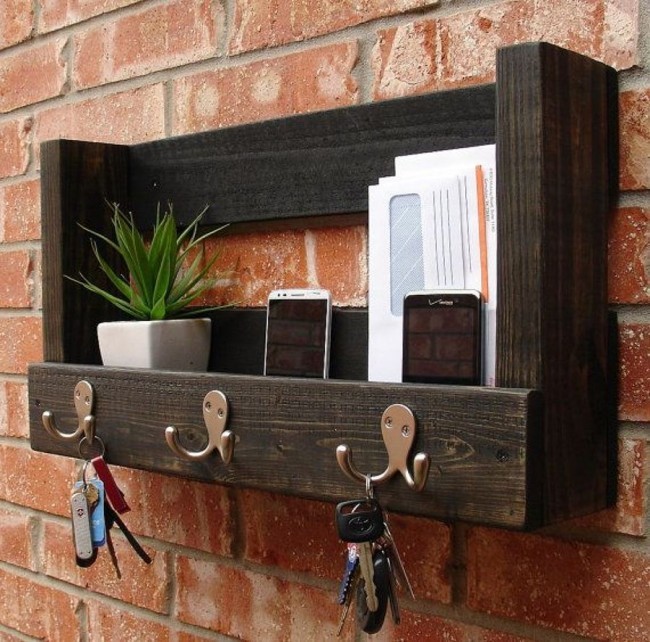
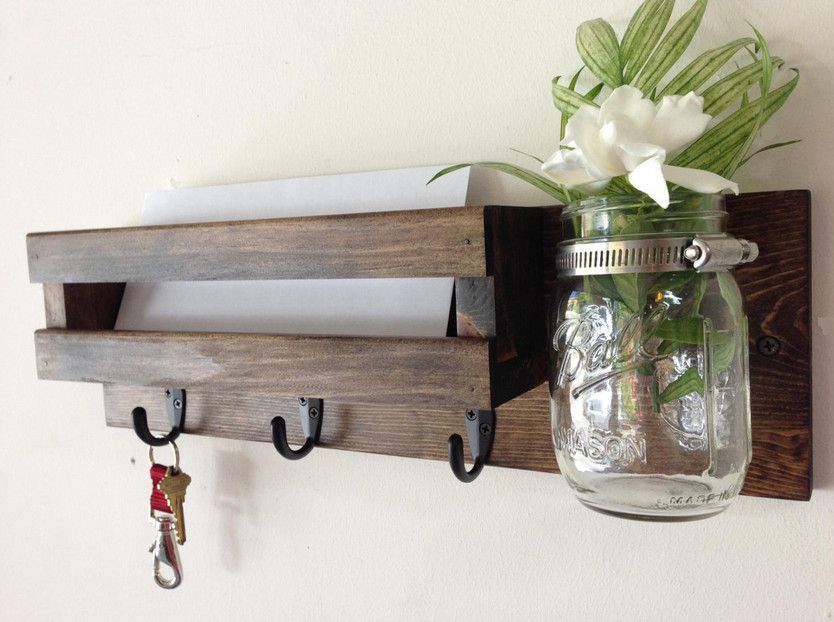
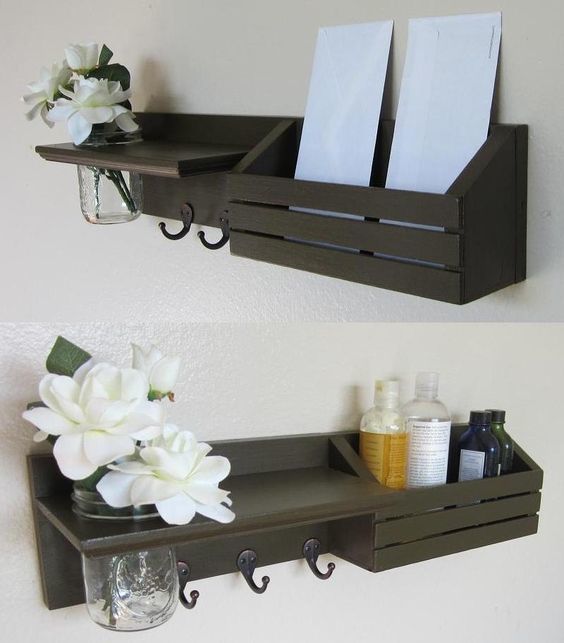
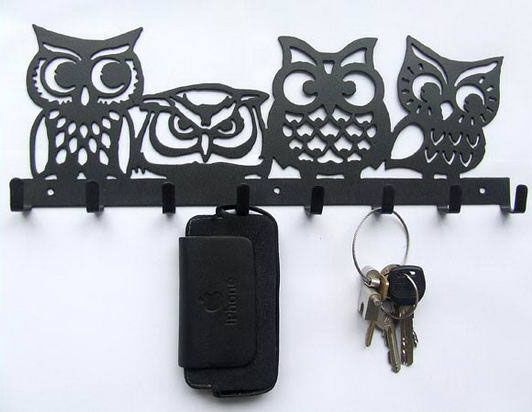
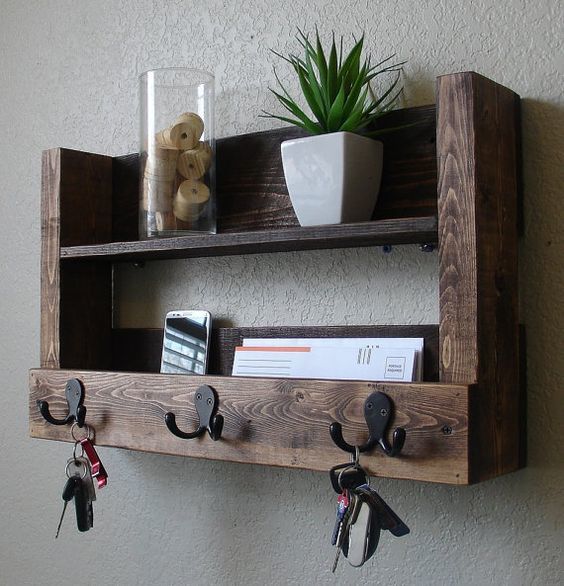
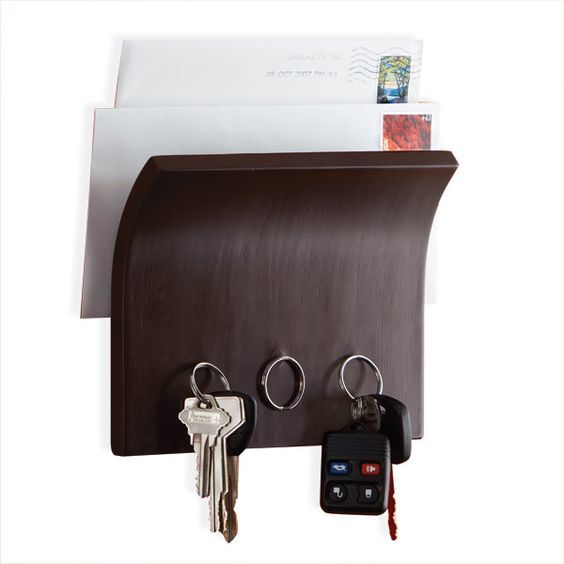
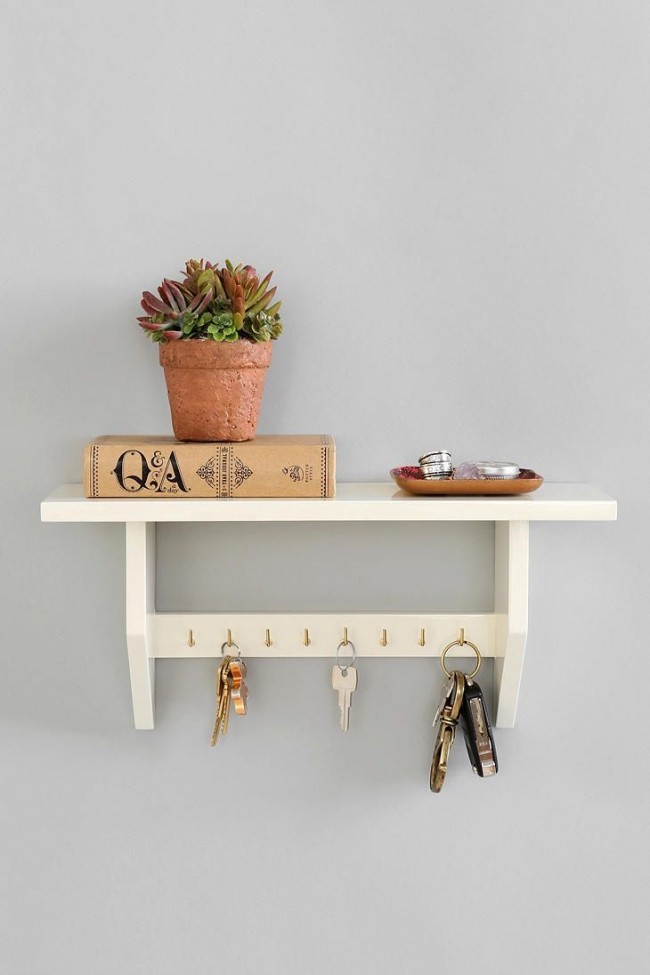
- Wall Key Holders with Shelf. Located at eye level, close to the house-exit, so you can always see it. The fastening method depends on the owner’s imagination and the interior design solution: metal, plastic hooks, or magnetic devices
- DIY Keychain Holder (aka Pocket Key Holders). If you are a fan of carrying keychains with you, you should not worry about damages and scratches on the screens of phones, the product is sewn from leather, which prevents wiping holes inside clothes and bags
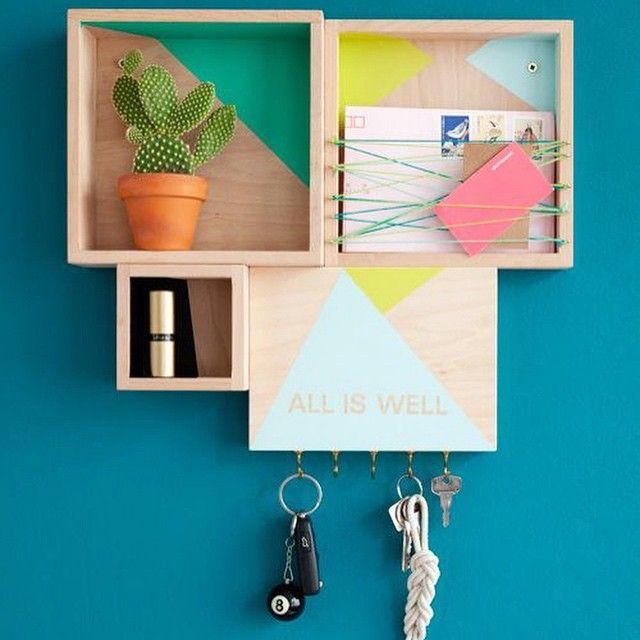
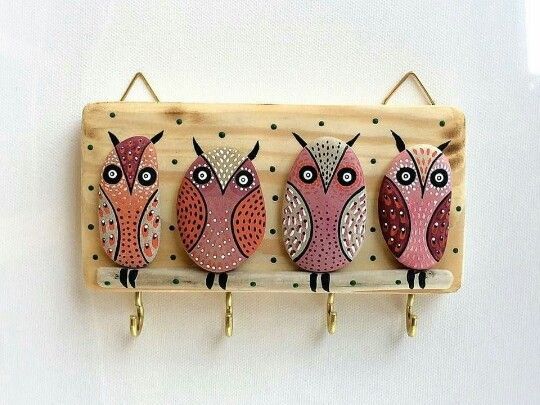
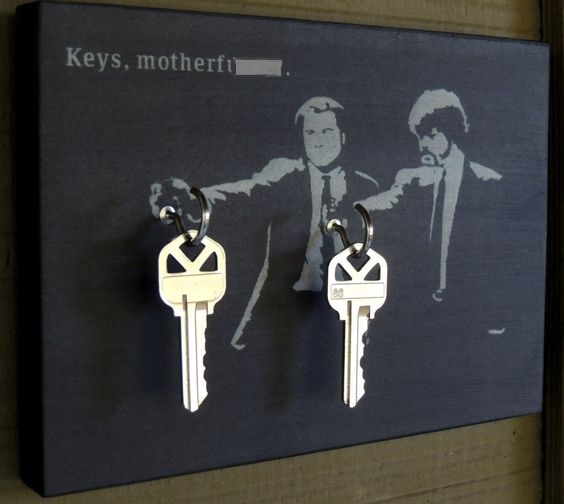
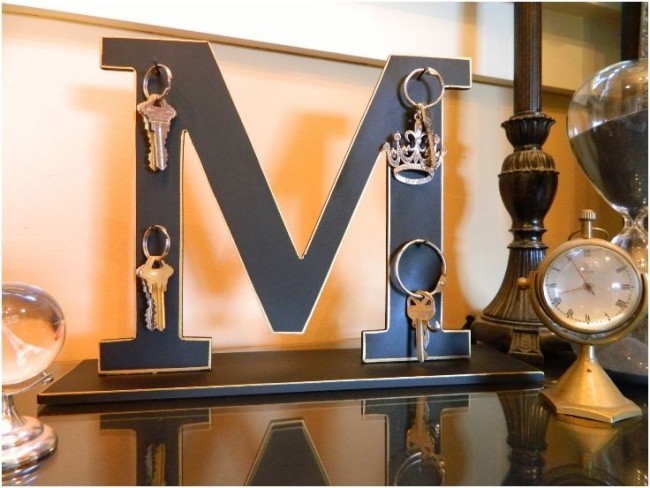
- Tabletop Key Organizers made of metal, cardboard, or wood. The shape and appearance can be different – a box, a frame, a little house. You can make a painting and decorating a DIY Key Holder
If you want to see more woodworking and crafting wizardry — check out our Woodworking and Crafting eBook! 🙂
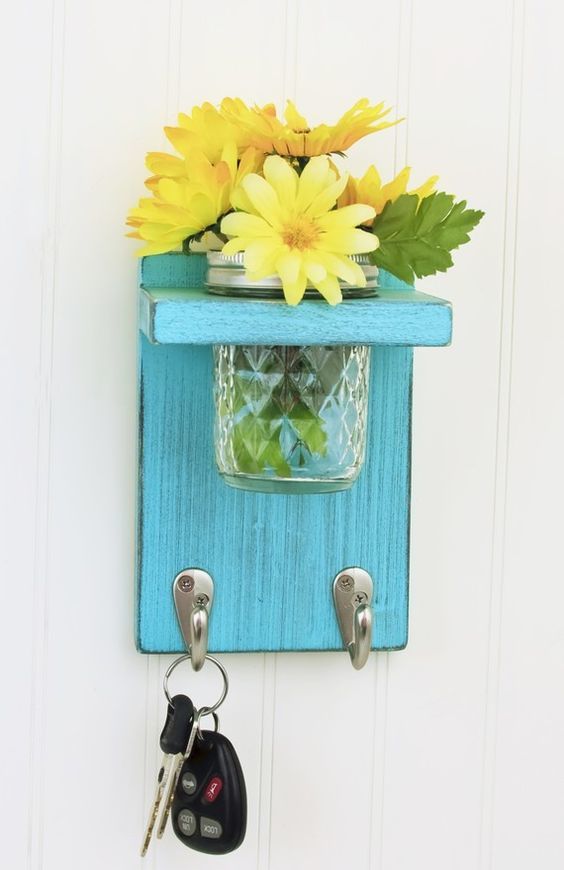
DIY Key Hanger can also be used for paper-notes, memos, reminders. You can leave your cell phone or sunglasses there. This is a convenient place for storing shoe care brush.
Don’t forget to account for the interior as well: in work/office space key organizers could be metal, with a built-in internal lock. In the garage, the hanger could be simple and crude in appearance, but in a nice, farmhouse/rustic kind of way. However, for a house, it is recommended to think of all the little details and appearance.
Where to place the key hanger?
The main rule that should be followed when choosing the location of the keyholder is the ease of use and the principle of “always in the eye-sight”. Often the owners lose their keys, but it turns out that they are have been lying on the table the whole time. It will be convenient for many to carry a pocket keychain holder – it is always nearby, fits compactly in a bag or jacket. But the loss of the entire key-set occurs at once.

If you want to see more woodworking and crafting wizardry — check out our Woodworking and Crafting eBook! 🙂
If the hey hook is intended for storing household keys (barn/shed, garage, basement, etc.) – place it near the front door or on the inside of built-in wardrobes. So the risk of losing or being stolen is minimized.
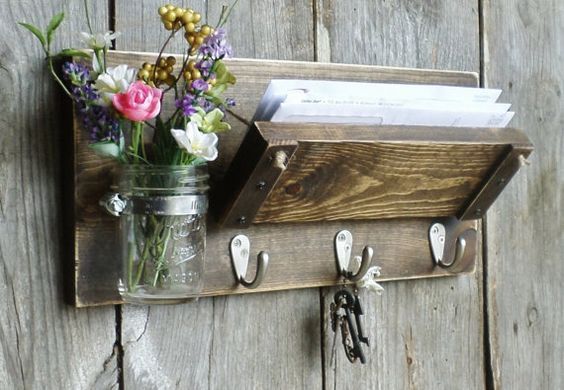
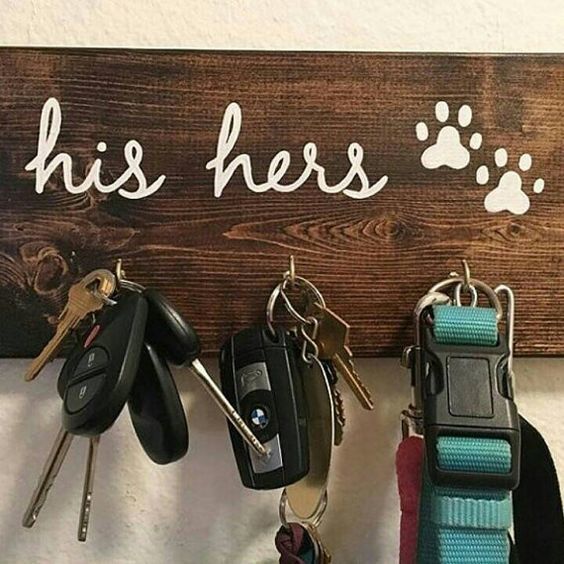
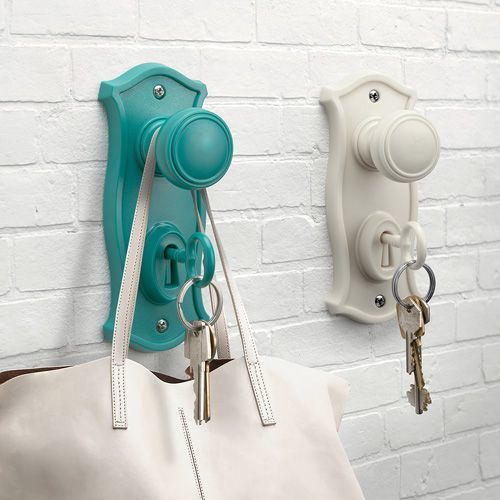
An entrance hall (corridor) is an ideal place for attaching a wall key holder with a shelf. You will not forget your key fob when you go to work – your eyes will intuitively stop at the hanger by the front door.
The advantages of making a key holder with your own hands
There are many advantages to crafting an original design yourself.
- It is rare to find a handmade key holder that would fit the overall interior 100%. If you craft it yourself, you will save not only nerves and time but also finances – that is because you most probably have all the necessary building materials at hand
- You would put your love into work and fill the room with warmth. This is a great way to express your personality, taste, and style
- The quality is under your absolute control – what could be more important than confidence in the durability of the DIY hanger and the naturalness of the materials?
- Your hallway will acquire a completely different look – an exclusive holder with a shelf will delight your friends and family
- Saving money is not the last item in family planning as well
If you want to see more woodworking and crafting wizardry — check out our Woodworking and Crafting eBook! 🙂
Deciding on the design
Pocket one, from cardboard; or on the wall from wood; or on a flat surface (chest of drawers, table) – when DIY’ing woodworking projects, options are truly limitless!
There are many types of hangers for small things and keys, the main thing is to determine the final placement. When you have decided where the key holder will stand or hang, you can start thinking about its shape and overall appearance.
Perhaps your hallway has a farmhouse look — you wouldn’t want to put something futuristic in it, now would you? Or it might be better to complement it with original decor that combines practicality and beauty!

If your house style is high-tech, you could create your own unique key organizer made of metal, polish it and bring fashion trends to your corridor. Materials for crafting can be very different: leather, wood, cardboard, metal and others.
If you want to see more woodworking and crafting wizardry — check out our Woodworking and Crafting eBook! 🙂
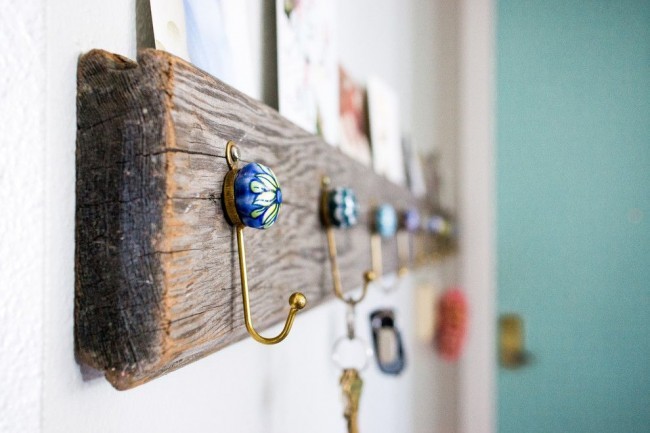
Choosing hooks for our key holder
A homemade original key hanger can be made of different materials, which gives an excuse to include imagination and creativity. Hooks are an important part of the product, they can be very different as well.
You can buy blanks at any hardware or woodworking store that sells furniture. For example, a simple option is overhead hook types, which are conveniently attached to the key holder. To attach the hooks to materials such as plywood or chipboard, they need to be glued.
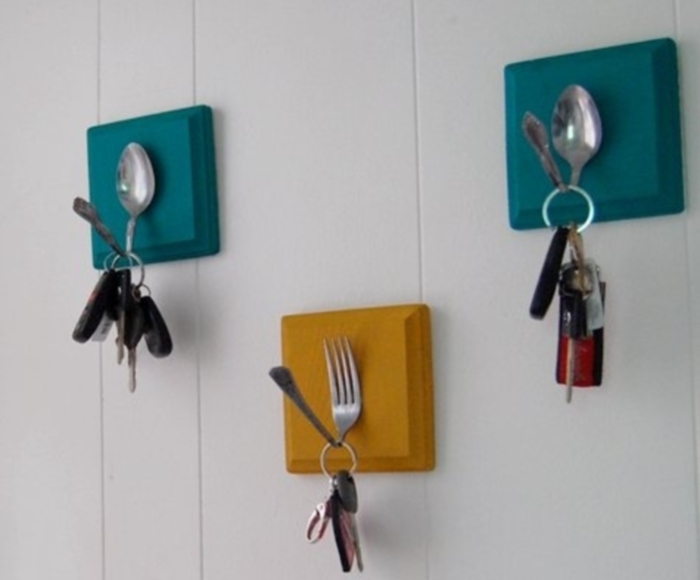
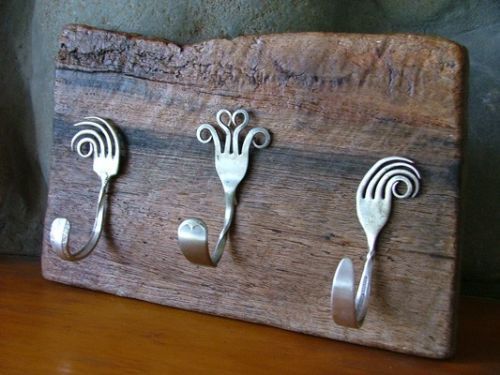
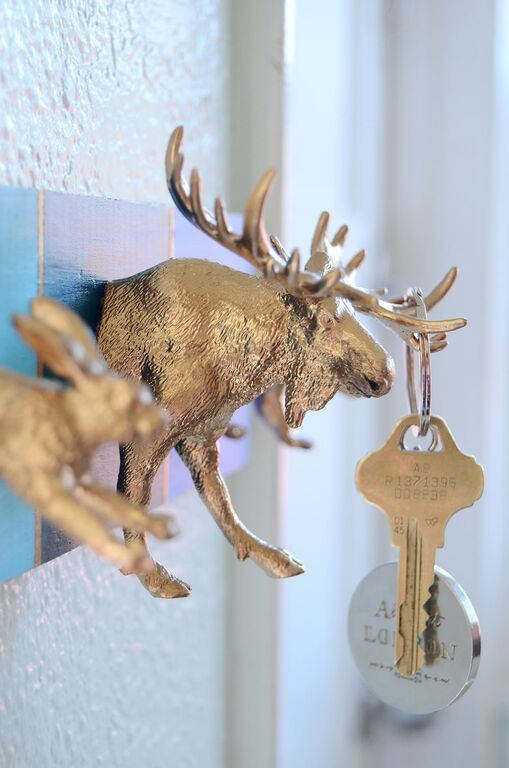
The metal pins inside each fastener are hammered down even on concrete walls. The disadvantage is the high cost. If you get creative, you can try making crochet hooks from old forks, wire, or even twigs.
If you want to see more woodworking and crafting wizardry — check out our Woodworking and Crafting eBook! 🙂
Wooden wall key holders: simple DIY models
DIY key holders, can be cut from natural wood. Homemade key rack is obtained from any type of wood raw material. So, we will need the following:
- Solid wood (eg oak)
- Manual drill
- Rotary Hammer
- Nails/Screws
- Dowels
How to make a DIY Key Holder – Steps
Time required: 1 hour and 30 minutes
-
Sand the the wood
First, you should sand the wood plank (or whichever piece wood you get your hands on)
-
Drill holes
Drill the holes in the wood-plank via which you would hang the key holder on the wall
-
Paint and/or varnish the surface
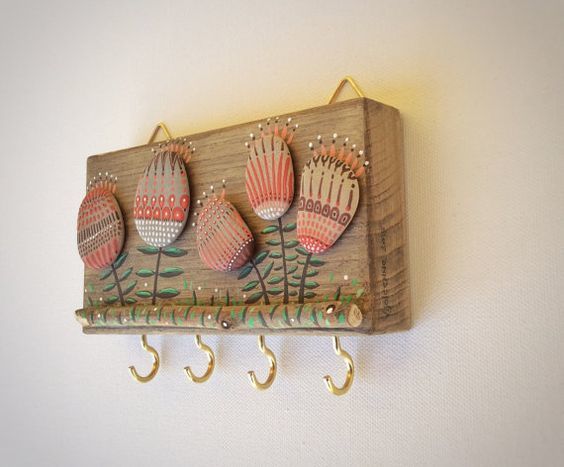
Natural wood color brings out the farmhouse look; but you can paint it some fun color to make it a bit more modern
-
Attach the hooks
You can use anything from store-bough hooks, to just using a couple of bent nails
-
Hang the final result on the wall
Well, that one is pretty self-explainatory
-
You’re done!
Congrats! That’s all! Your DIY key holder is done! 🙂
If you want to see more woodworking and crafting wizardry — check out our Woodworking and Crafting eBook! 🙂
Below are other possible options.
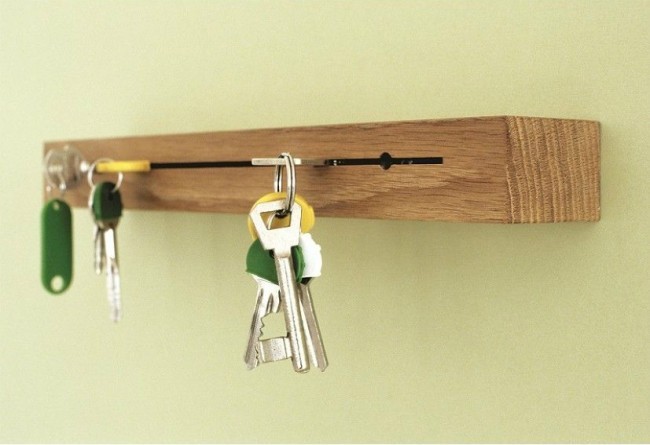
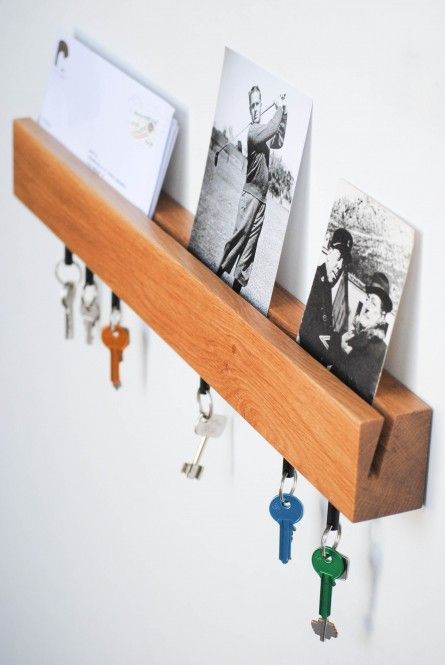
Wooden but without hooks
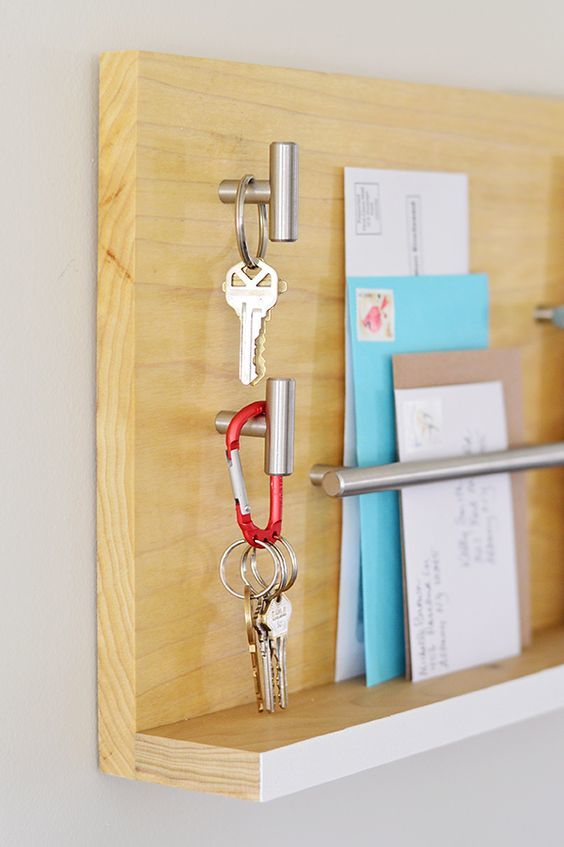
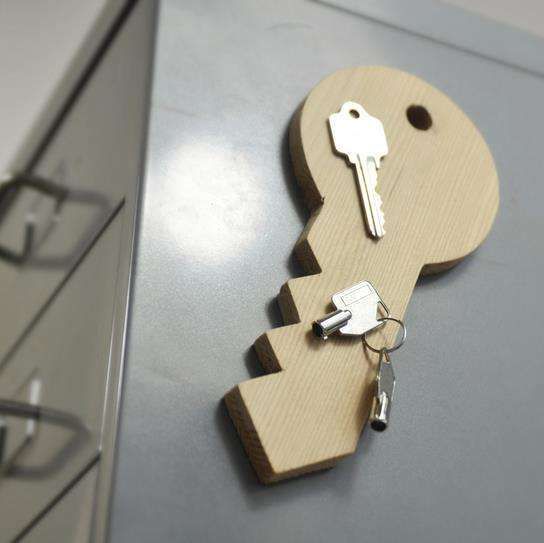
The key hanger in the hallway, floor or wall, can be without hooks! The principle of operation of such a key holder is simple – the key is not hung, but is stuck into the slot of suitable parameters. The slots can be small and in any quantity, straight and at an angle. The most convenient way to make them is to use a milling machine. The circular saw is the second best option.
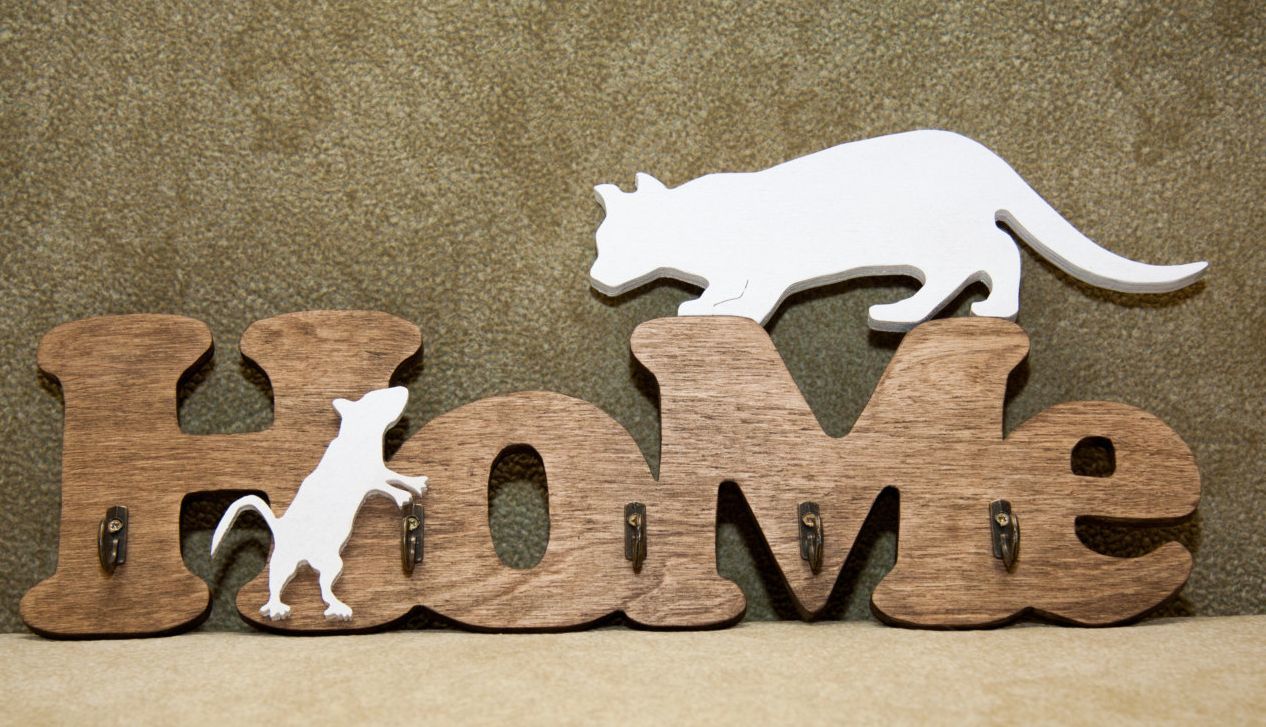
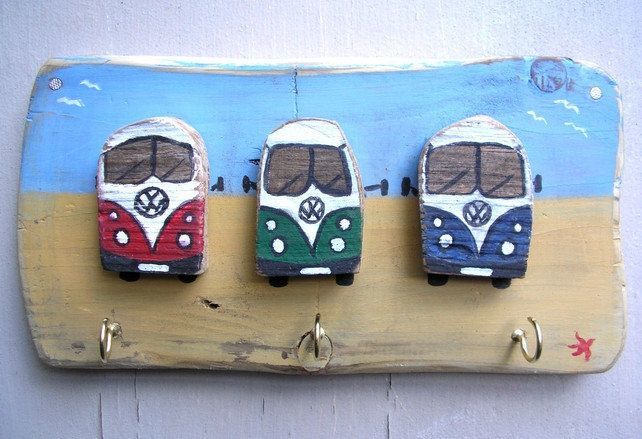
DIY plywood key holder (scrap wood): several examples
If you still have some spare plywood (perhaps after some renovation), it can be used for a fun DIY woodworking project — key holder. The optimum material thickness should be around 10 mm (1/2 inch). You will need:
- Key holder plans (blueprints) made of cardboard or paper, which can be transferred to a chipboard/plywood base
- Power tools (drill, saw, etc)
- Putty and Putty Knife
- Metal hooks and fasteners
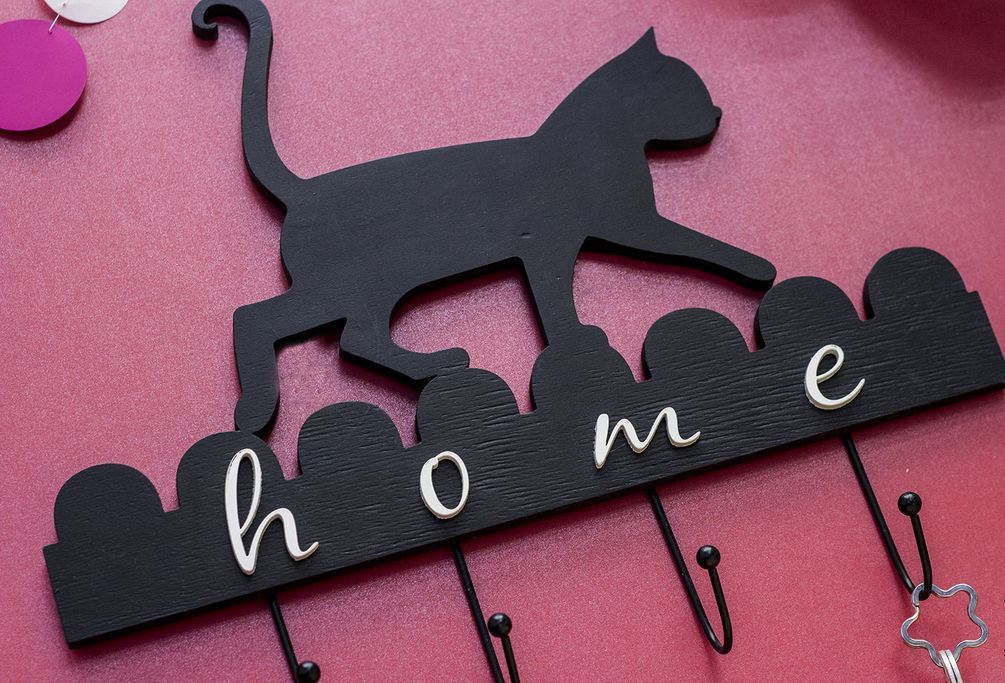
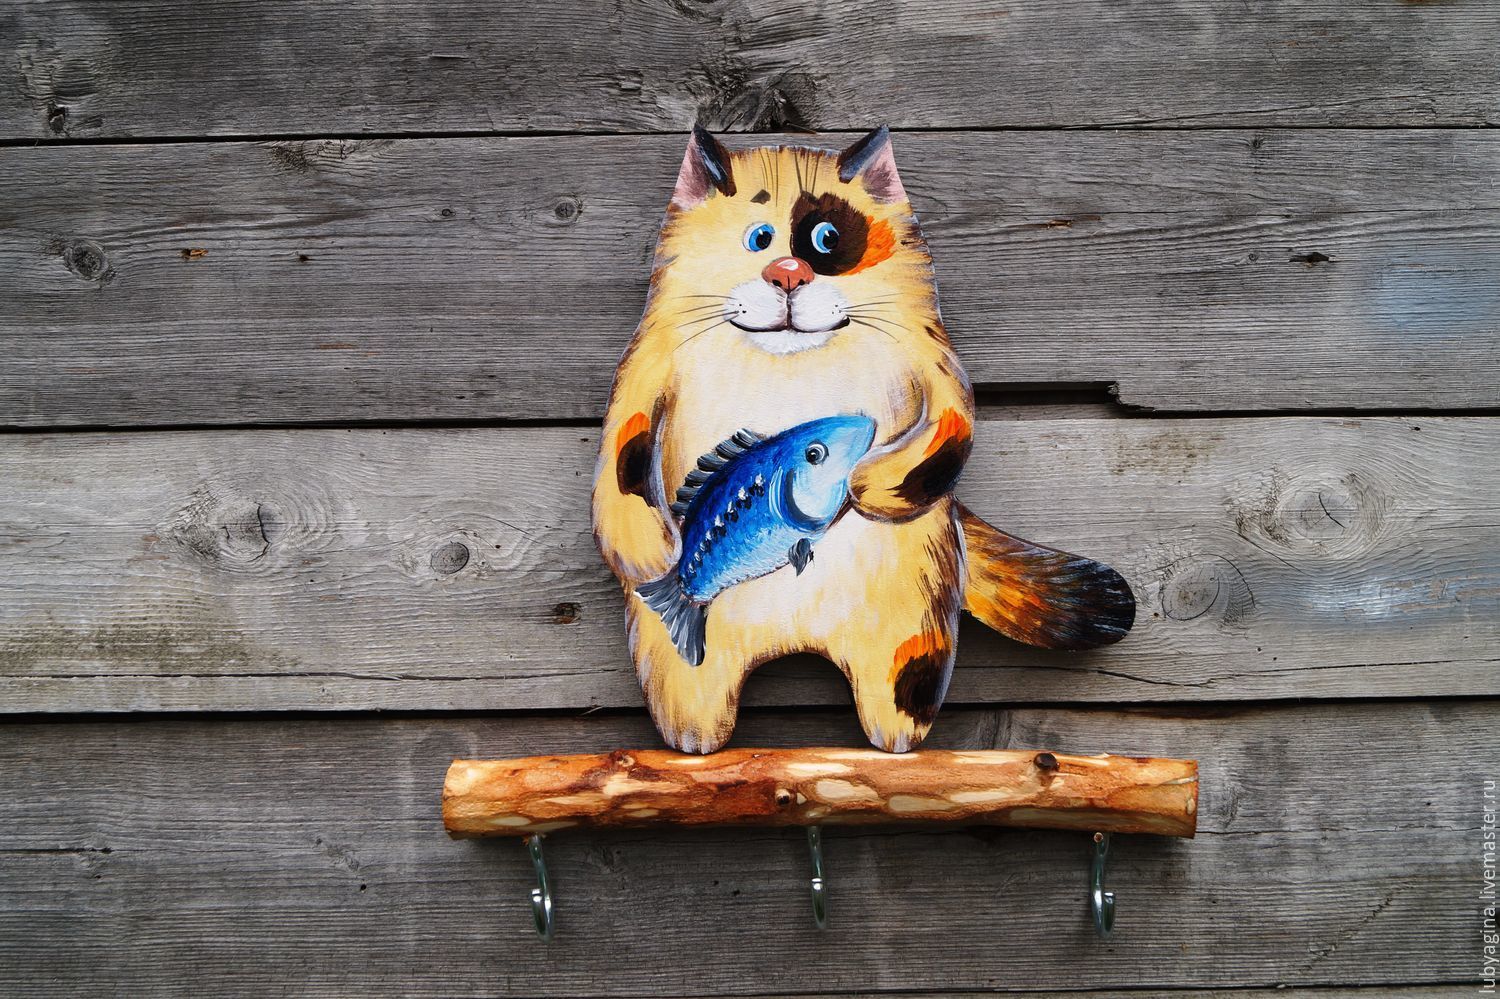
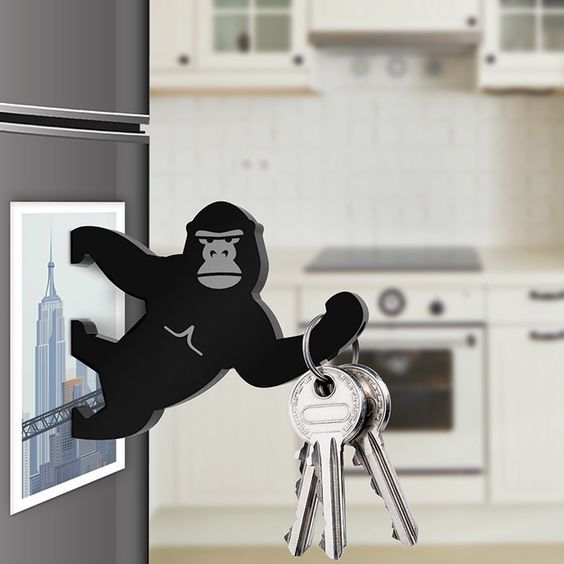
The shape of such a hanger is only limited by your imagination: a cat, a fish, a whimsical bird! The most widely-used one is a big key. Place the pattern on the plywood and carefully trace it with a stationery pencil. Next, a jigsaw is used to cut away the rest – that’s pretty much it.
If you want to see more woodworking and crafting wizardry — check out our Woodworking and Crafting eBook! 🙂
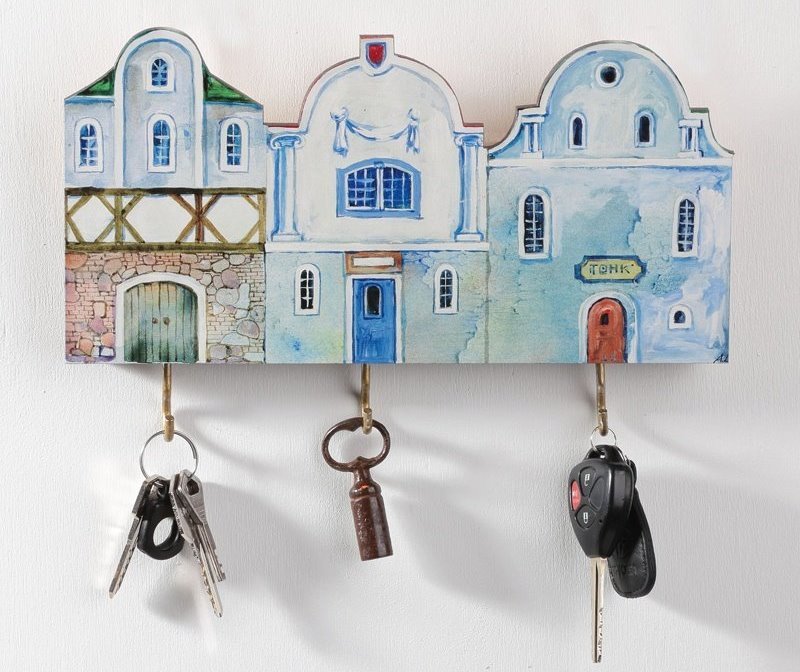
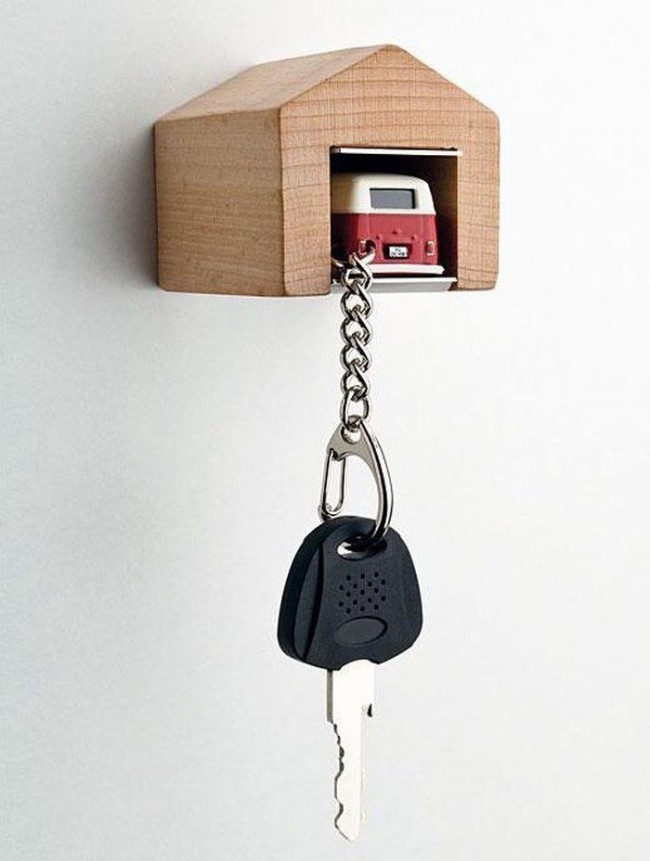
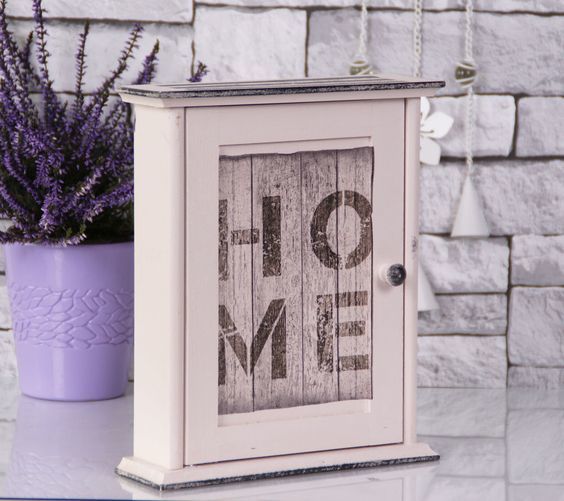
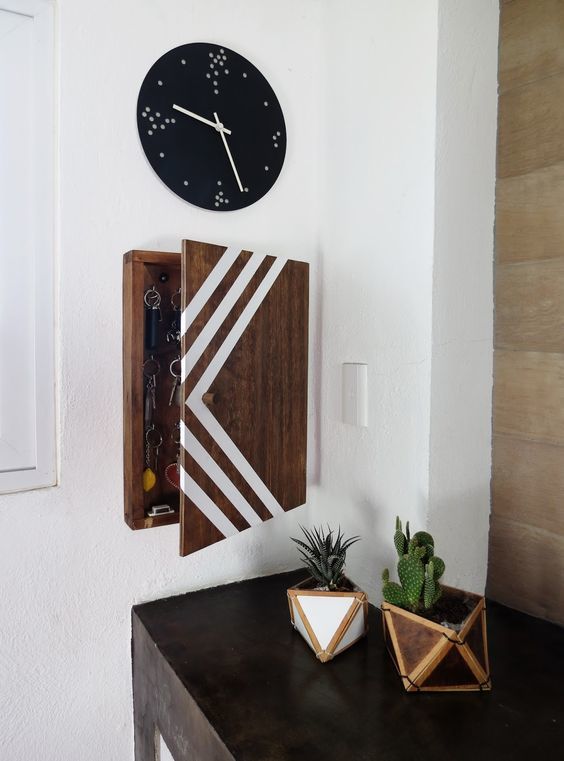
Hanging key holder, in the form of a house
You can create an original wall hanger for keys in the form of a house that looks like a birdhouse with doors. The material can be anything: textiles, cardboard, wood.
You will need:
- a small piece of plywood
- highly abrasive material
- fasteners for doors
- hanging parts
- paint and varnish material for the topcoat
If you want to see more woodworking and crafting wizardry — check out our Woodworking and Crafting eBook! 🙂
The steps:
- Sketch (plan/blueprint)
- Cut out future house parts from wood planks
- Sand and/or grind them
- Each part is varnished, in 3 layers
- Assemble the parts using nails/screws
- Hang the final Key House on the wall!
Doors are fixed, hooks are attached and a lock is mounted. You can decorate the finished key holder with separate elements. Your unusual closed original key rack is ready!
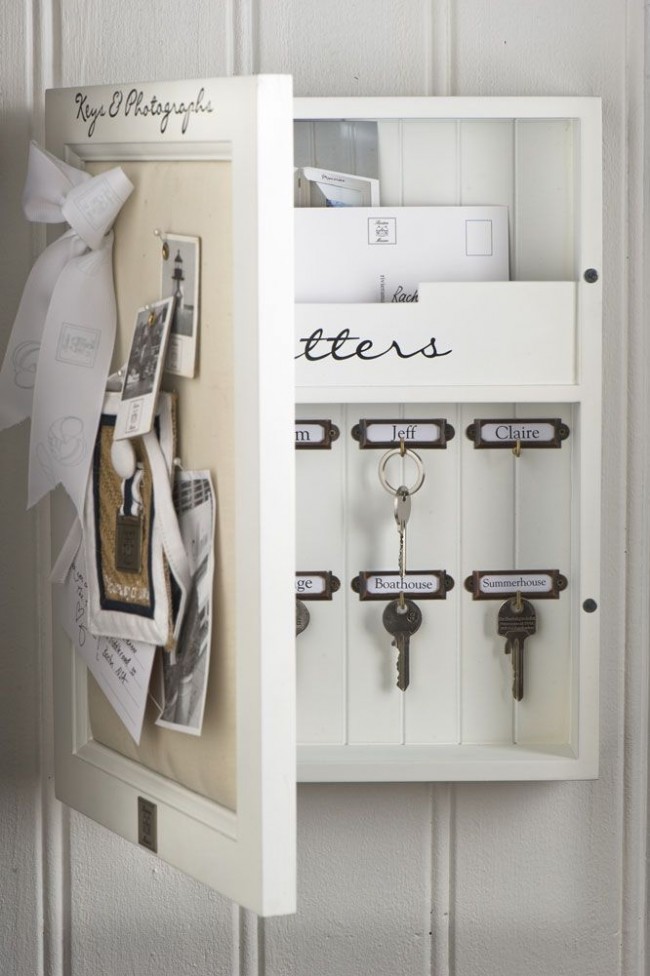
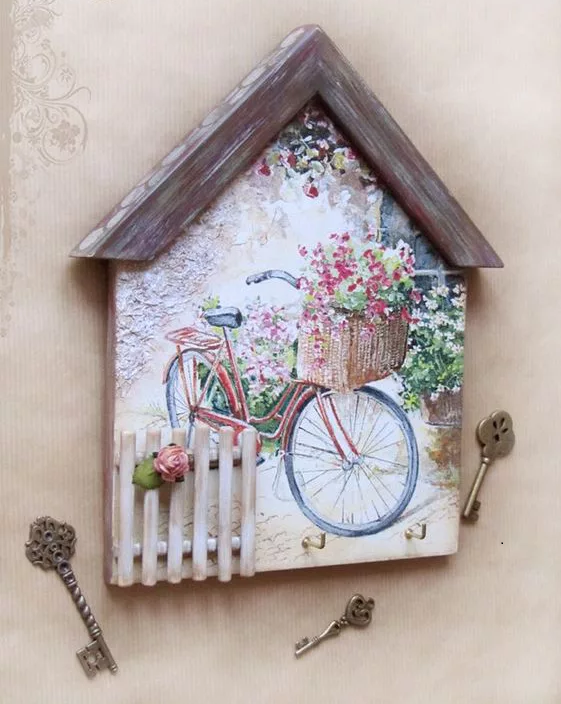
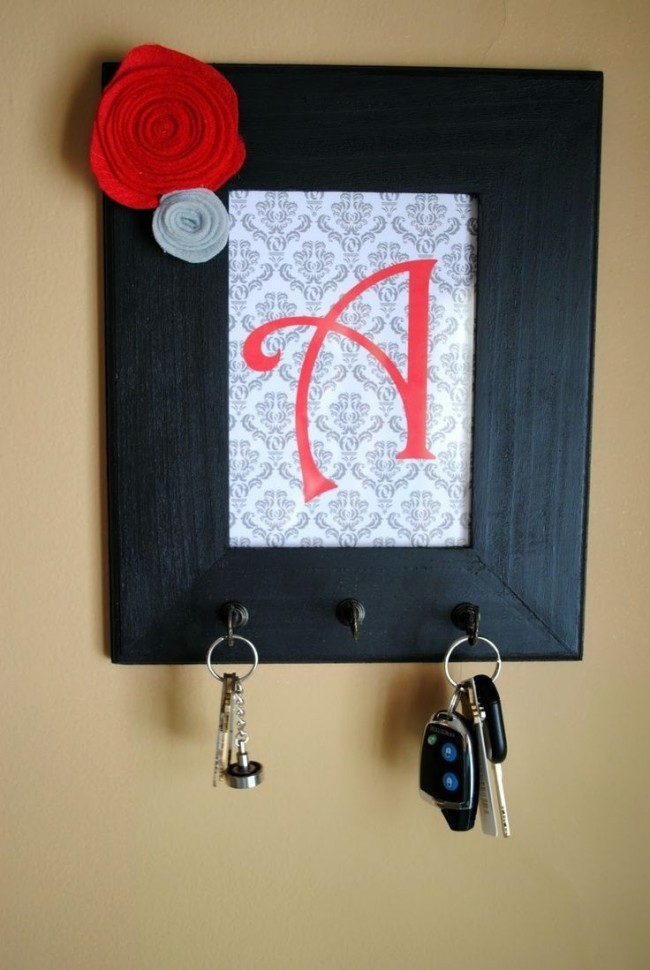
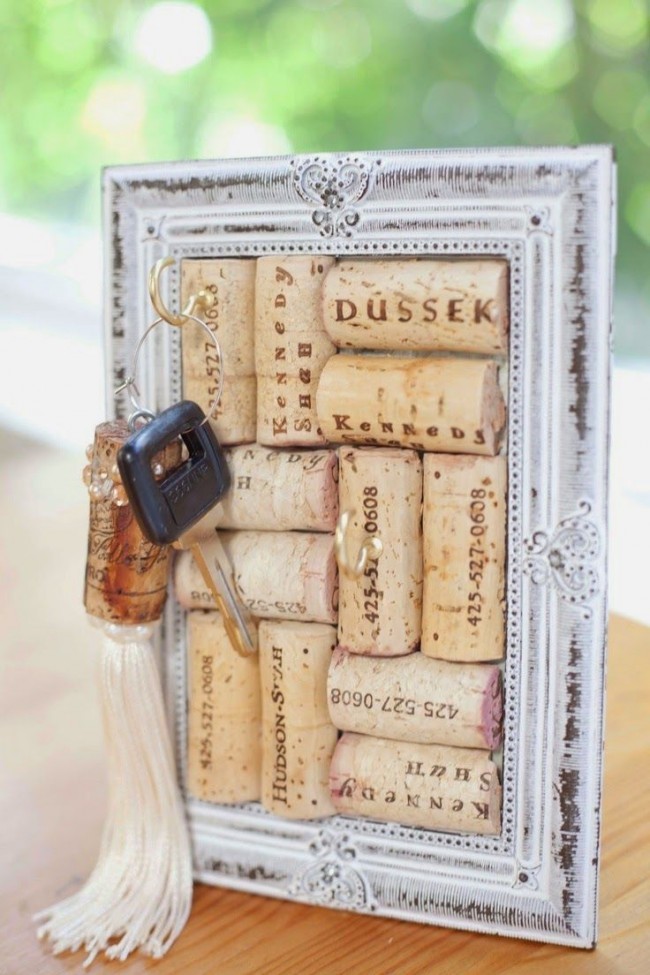
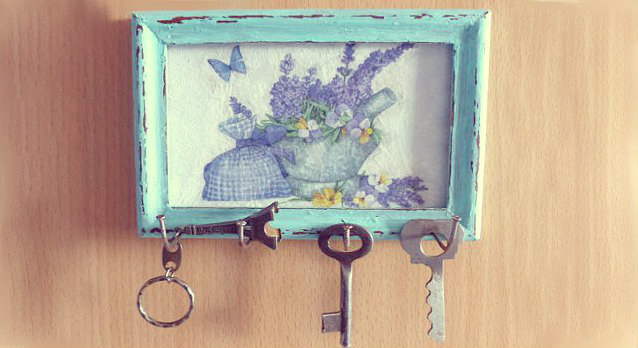
Key holder from old picture frames
Have you found an old picture or photo frame at home? Make useful wall or table key holders out of it in the hallway from it!
Speaking of old picture frames… Have you seen the awesome DIY Picture Frame we made last week?
Decorate the wall and complement the interior with an original element. So, you will need:
- The basis is a picture frame
- Plywood
- Acrylic paints and primers
- Paint-brush
- Power tools: drill and jigsaw
- Key hooks
- Glue
Measure the inner sides of the base and use a jigsaw to make a plywood shape that will serve as the surface for the hooks. Make holes with a thin drill, and cover the material with white paint or acrylic primer. Wipe it with sandpaper and go over the surface with a dampened cloth.
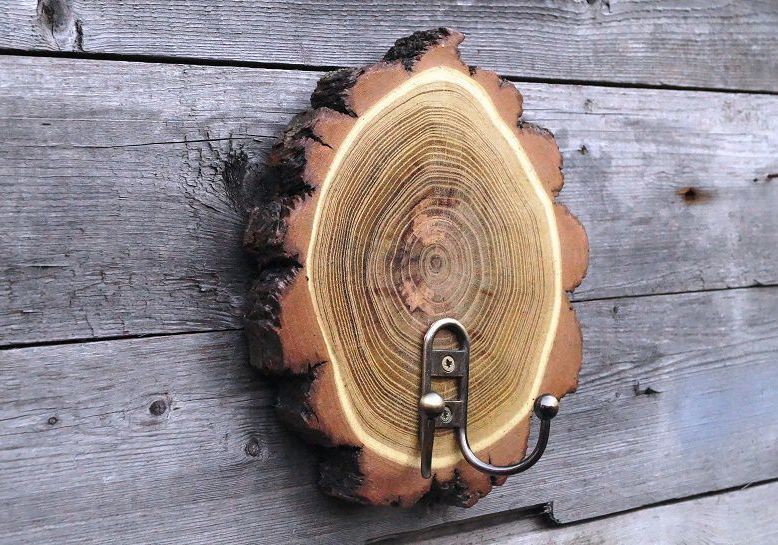
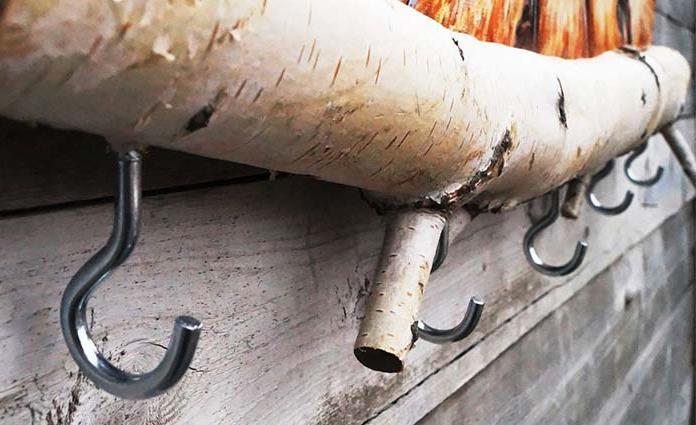
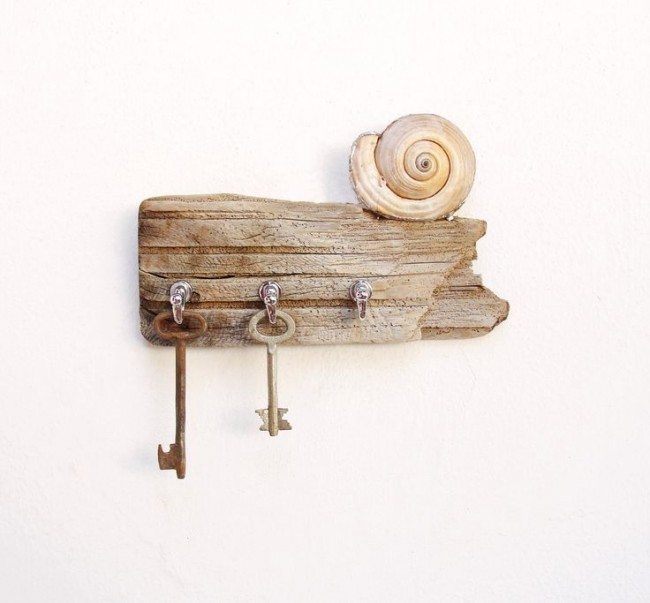
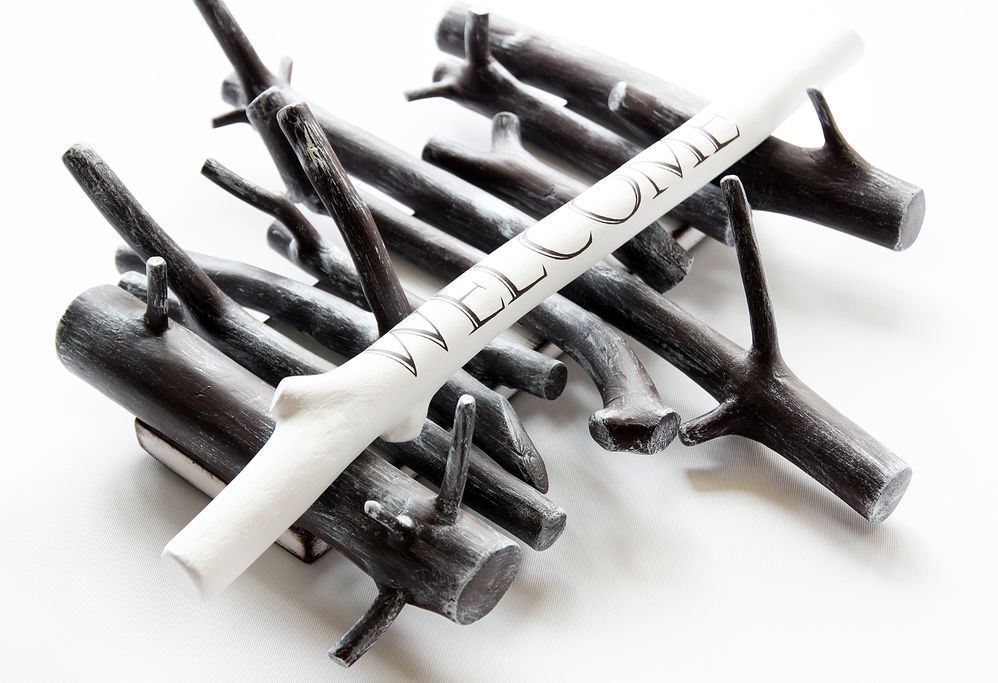
Original key holder from a tree branch
To great connoisseurs of eco-style and natural elements in design, — this option might be the one! Minimum costs, materials and time – and your hallway is decorated with a new, incredibly beautiful and original element.
You will need:
- Tree branch
- Paints for wooden surfaces, acrylics are ok
- Drill
- Jigsaw and hooks for hanging
If you want to see more woodworking and crafting wizardry — check out our Woodworking and Crafting eBook! 🙂
Don’t forget the varnish. Each branch is individual, so feel free to get creative.
- The raw materials are carefully and thoroughly washed, dried with a construction hair dryer (the usual one is also suitable, in the maximum power mode)
- Clean the surface: carefully cut off excess branches. Decide whether to remove or save the bark. If you will be removing it, use sandpaper. The bark can be left by cleaning the damaged areas.
- Mark the places of future suspensions – carefully cut them with a jigsaw, drill holes with a drill
- Done!

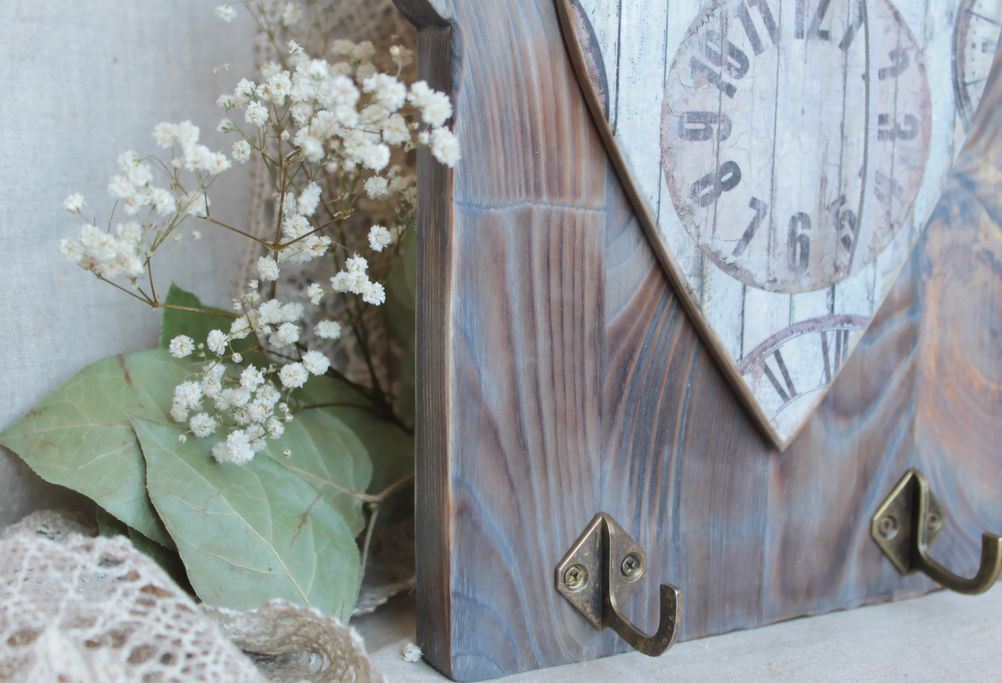
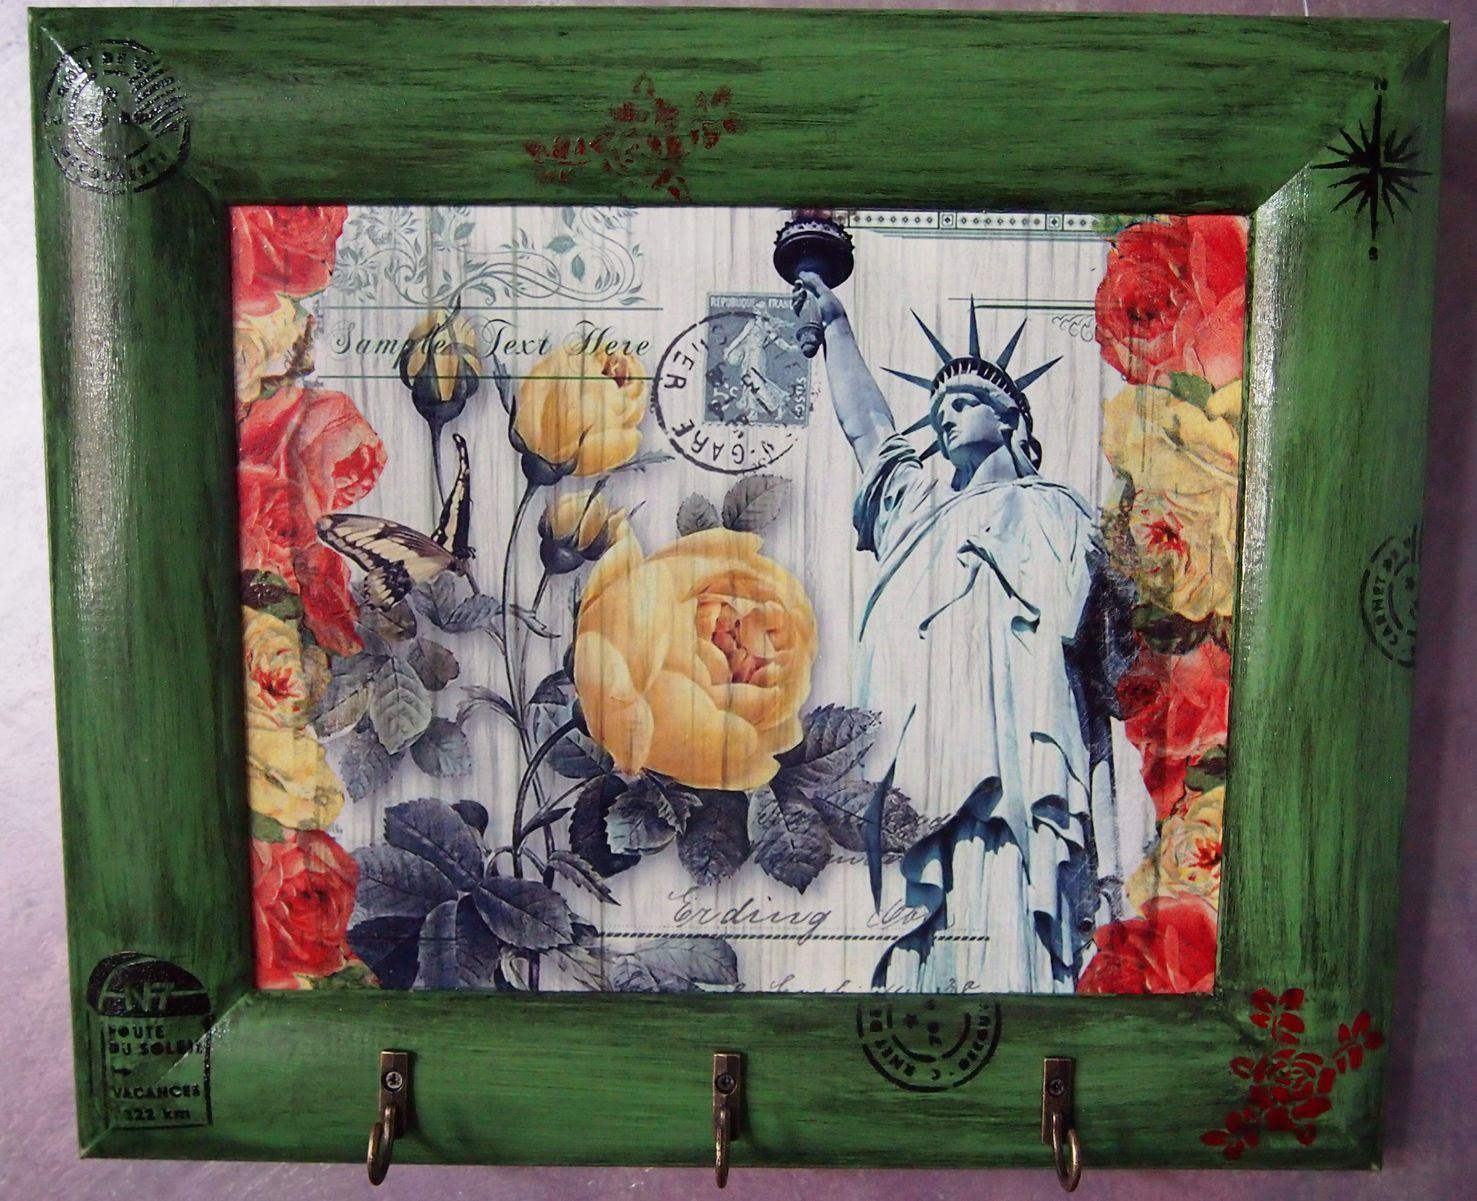
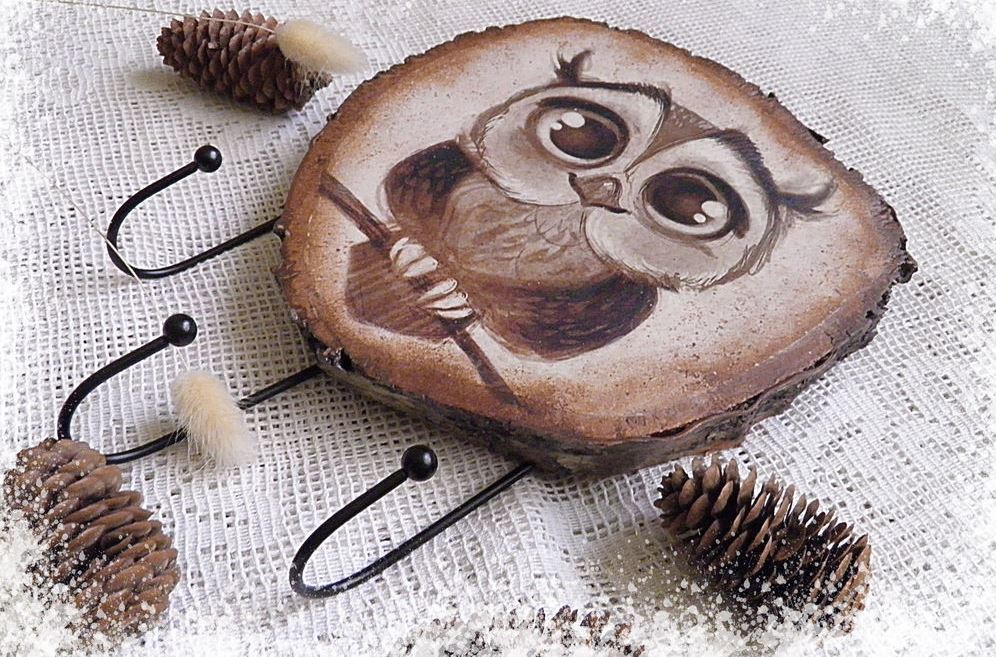
Using decoupage technique in decoration
You can create a real masterpiece and decorate it using the decoupage technique. For this, the preparation of the workplace is required: cover the tabletop of the table with oilcloth.
We will make a full Decoupage Tutorial in a couple of weeks. But for now, here’s a quick Decoupage-101:
- Take a base (it can be the frames of old pictures for a key holder made of plywood and wood)
- Dip a dishwashing sponge in white acrylic paint and paint the product with neat blotting movements
- When the first layer dries, apply the next one.
- Carefully review the work: uneven layers need to be painted over.
- While the base is drying, prepare a special mixture: water is mixed with an adhesive base (glue) in equal proportions
- Using a fan-shaped brush, apply the mixture to the surface, then apply a middle-single-layer-part of a napkin
- Apply glue on top, removing the excess
- When the material is dry, paint with acrylic varnish
- To fix the decoupage card on the surface, apply at least 5 layers of glue-mix
- To highlight the contrast and ribbing of the surface, paint with black paint on top
- A DIY decoupage-style wooden key holder will be completely ready when irregularities and roughness are removed with emery paper after the paint and varnish materials have completely solidified
- Done!
If you want to see more woodworking and crafting wizardry — check out our Woodworking and Crafting eBook! 🙂
What other materials can be used to make a DIY key holder?
Making and decorating a key holder made of leather or wood is a simple process. In addition to the above materials, you can make a wall or desktop key holder out of an old box, metal or plywood, or even glass.
Choose the frame and material based on your own taste preferences. A stylish key organizer made with your own strength and hands from wood will become a real decoration of your hallway!
If you want to see more woodworking and crafting wizardry — check out our Woodworking and Crafting eBook! 🙂
P.S. Bonus 35+ Ideas on how to make a DIY Key Holder and using it in the interior of your house and outdoors:


If you want to see more woodworking wizardry — check out our FREE 50 woodworking plans eBook 🙂