A safe bet for decorating any room is the shelves. A multifunctional decor item that allows you to place a huge number of things so that they look neat. They take up little space in the room by being placed on the walls and give it a more sophisticated look.
Human imagination and hands are able to create the most extraordinary and beautiful DIY floating shelf design that will harmoniously fit into the interior. Furniture stores provide a wide range of different design solutions, but why overpay if you can make shelves yourself?

If you want to see more woodworking wizardry — check out our FREE 50 woodworking plans eBook 🙂
Shelf locations and applications
Before proceeding to Floating Shelves, let’s consider possible alternatives. There are several types of shelves by the type of placement.
- Floor-standing. Installed on the floor. Tall structures are additionally attached to the wall. They are not stable, it is better to play it safe. This type includes mainly shelves for shoes, flowers, books, TV or small things, and decorative elements. High floor shelves (over 1 meter) are called shelving.
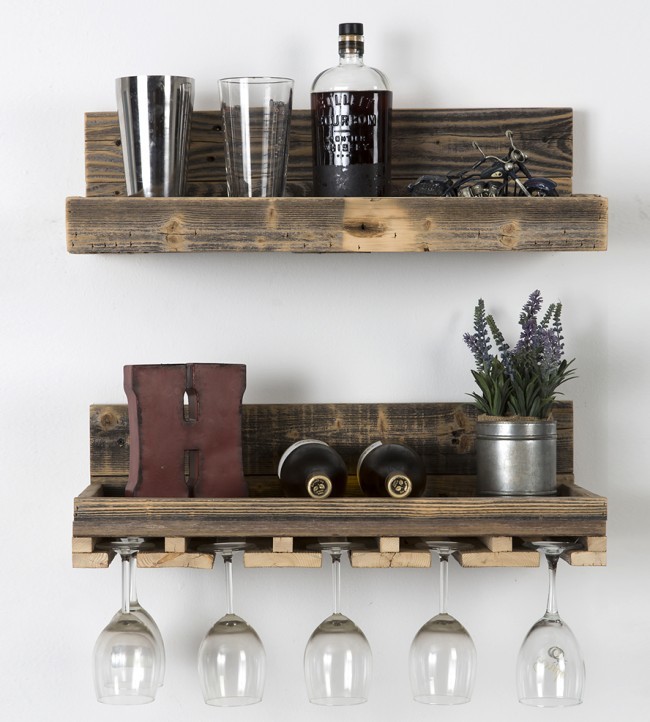
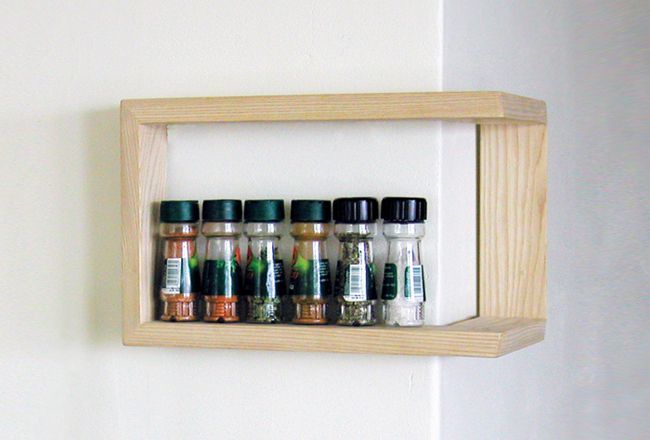
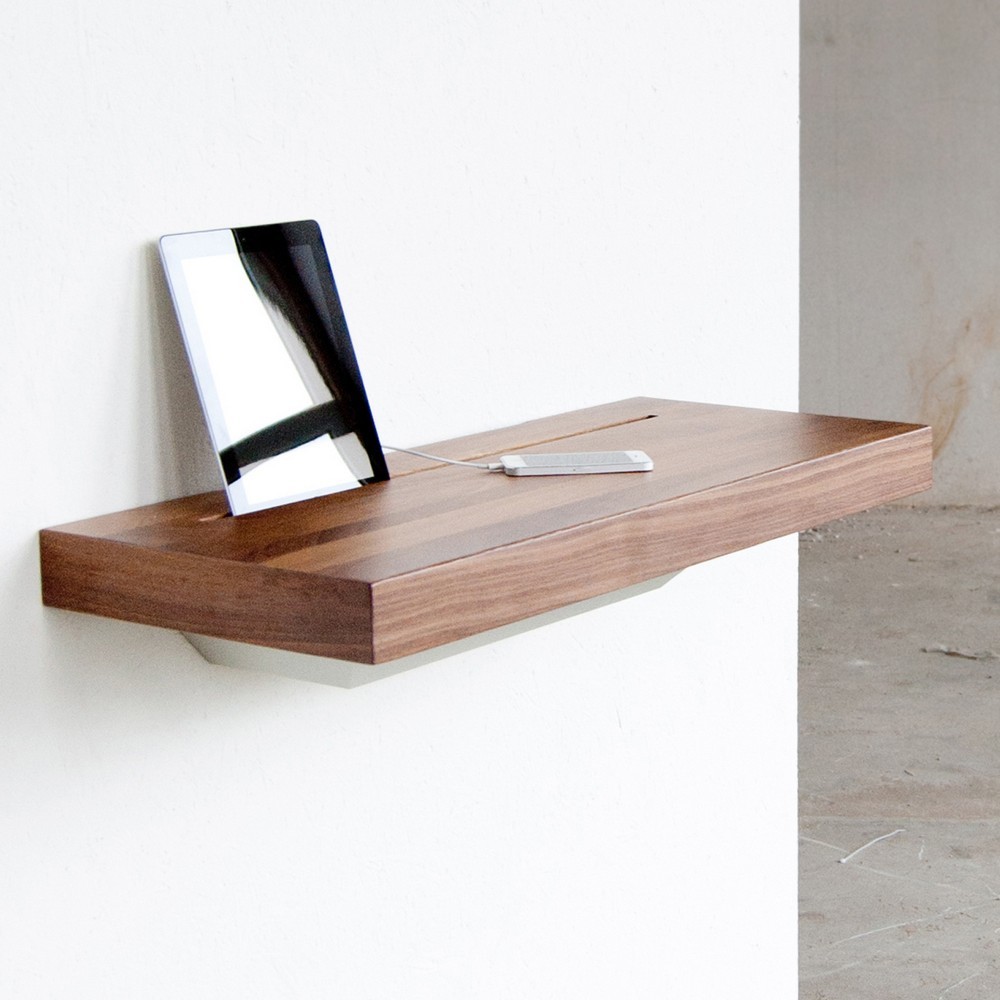
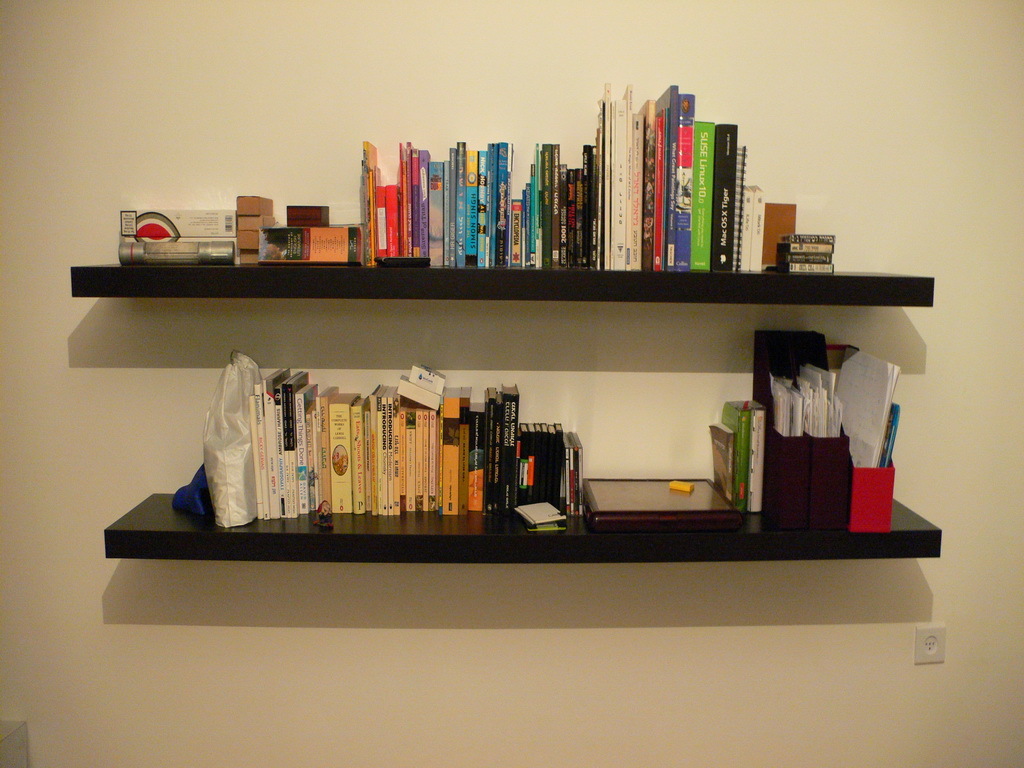
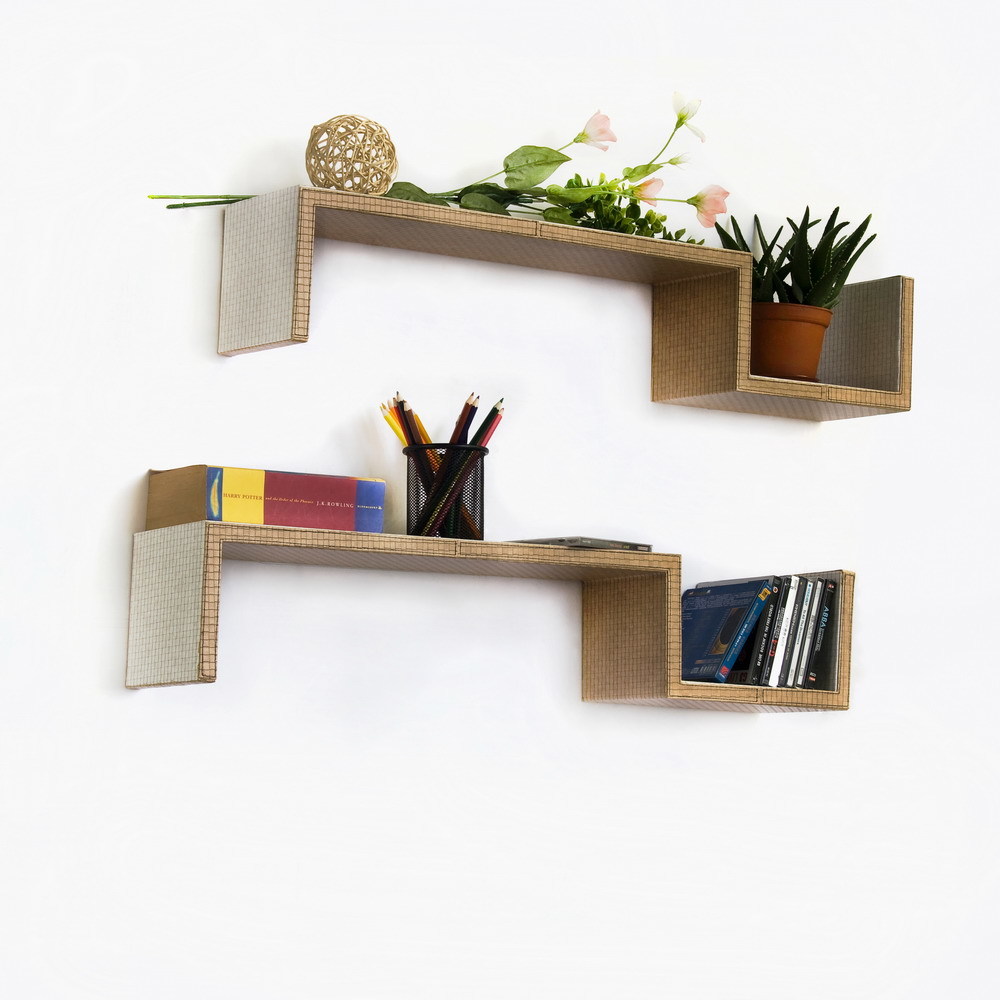
- Wall shelves (aka wall-mounted or floating shelves). Attached to the wall via special hidden screws. Designed for storing books, decor items, photo frames, family photo albums. In the kitchen, containers with spices or other utensils are often placed on the shelves. And in the bathroom, they are installed with jars of toothbrushes and toothpaste, combs, hairdryers, towels, etc. Out in the hallway, the wall shelf is a great storage place for hats, gloves, umbrellas, handbags.
- Hanging shelves. They are suspended from ceiling beams, pipes running under the ceiling, or attached directly to the ceiling. Suspended models are more often used in the bathroom and kitchen, where the pipes are located under the ceiling and are not hidden in decorative boxes. Use in a bedroom or living room is also appropriate.
If you want to see more woodworking wizardry — check out our FREE 50 woodworking plans eBook 🙂
Design and Variations
The design of the shelf must be fully consistent with the interior of the room, otherwise, it will look like an extra item. To avoid inconsistencies, you need to choose the type that will harmoniously complement the interior.
| Shelf type | Description |
|---|---|
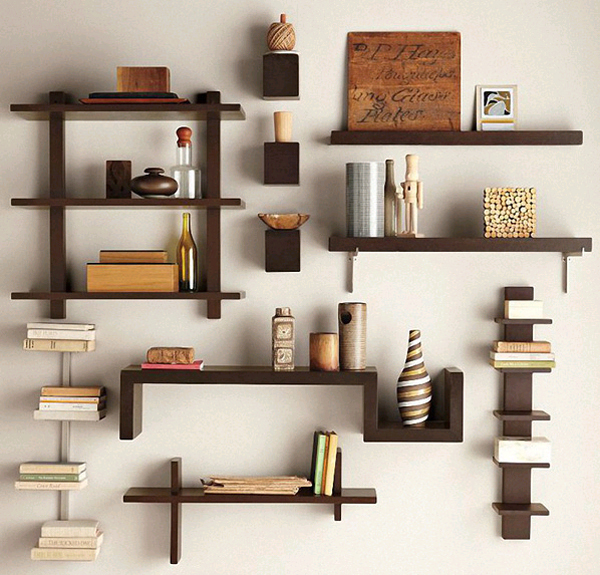
| Classic | Restrained minimalism and standard form are the main features of this type. Great “fit” into the classic interior, in offices, classrooms, libraries. Making a classic shelf with your own hands is easy. Feel free to get to work. |
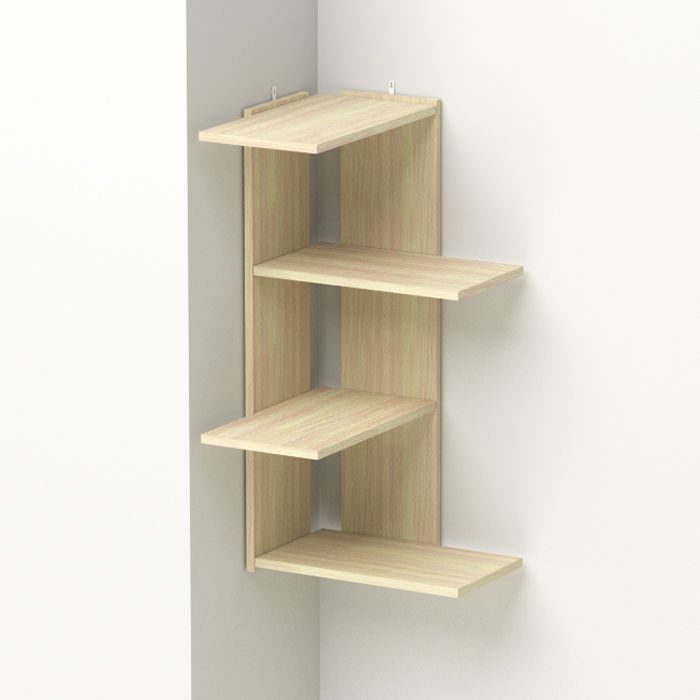
| Corner | Corner structures are made in a classic style. They are convenient in rooms that have a small area (baths, kitchens), but they are also appropriate in large rooms. Corner shelves are divided into two types: indoor and outdoor. The latter is installed at a protruding angle, which makes them unique. Their creation is somewhat more difficult than the classic ones, but not too much. |
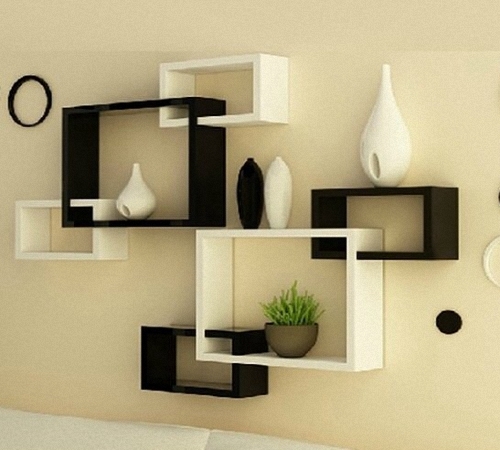
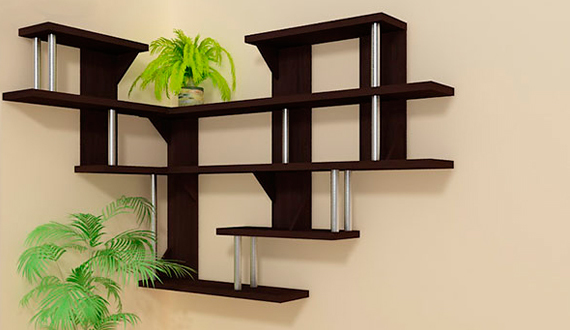
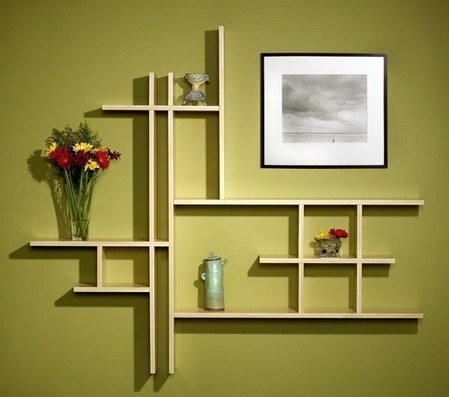
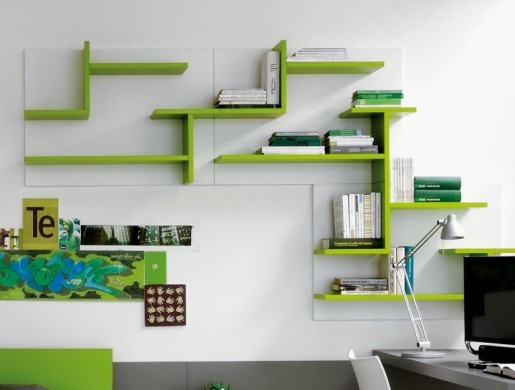
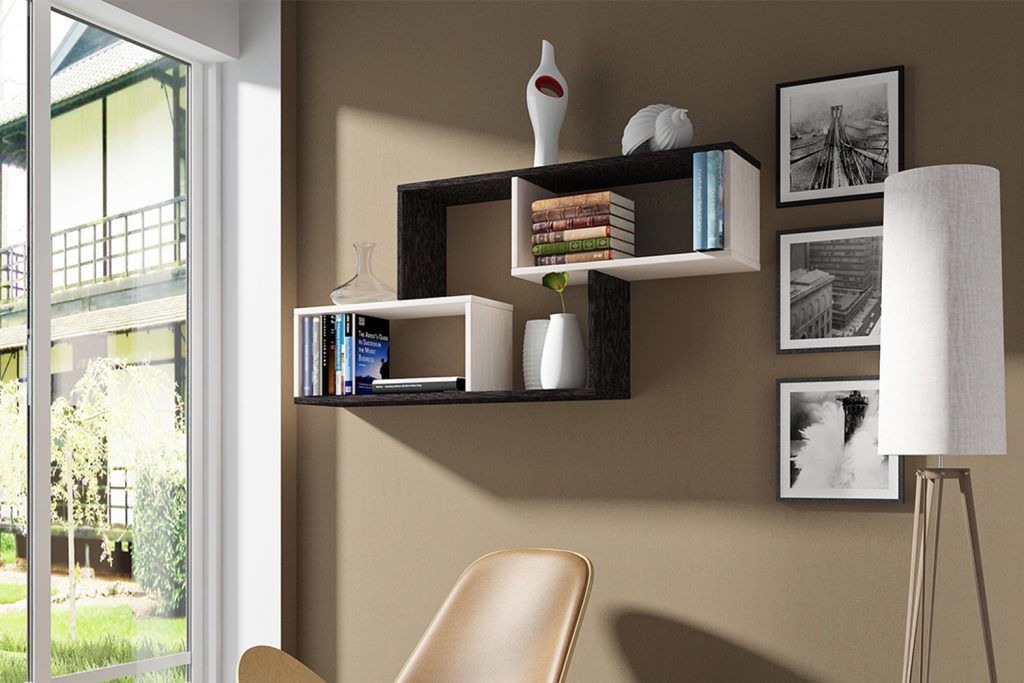
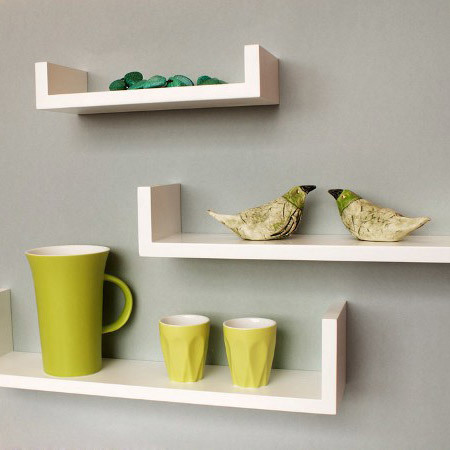
| ‘Modus’ | This type of shelves is a structure made of different materials of different lengths and widths. Modus shelves create a 3D effect due to their volume. Abstraction is the main feature of modes. They will decorate any modern style room. A well-thought-out project is easy to assemble, so you can make such shelves yourself. |
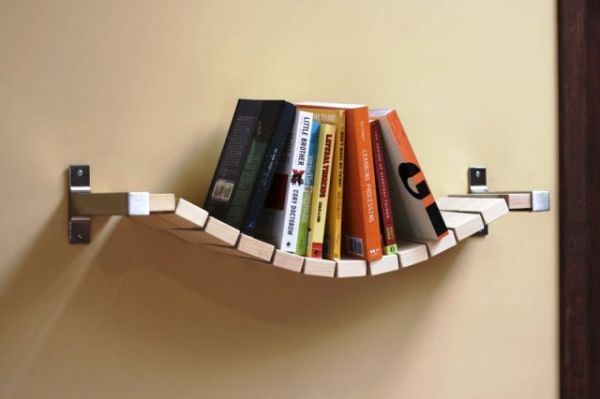
| Exclusive | All unique shelves that have the most non-standard solutions can be included in this category. It is not easy to create such a masterpiece yourself. But you will find the answer to the question of how to make an exclusive shelf? |
Choosing shelf material
Traditionally, wood is used to make shelves, but metal, plastic, glass, and even chipboard could also work. When choosing a material, you also need to rely on the interior of the room. Perhaps you have something useful lying in the pantry that will suit you, then the costs of the shelf will be minimized.
If you want to see more woodworking wizardry — check out our FREE 50 woodworking plans eBook 🙂
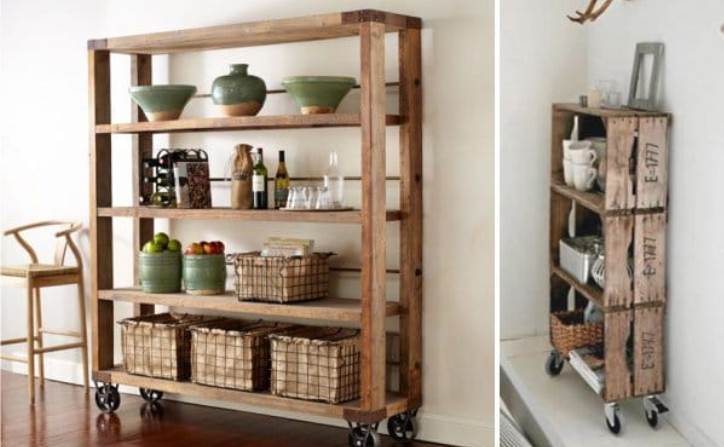
If you happen to find an old ladder, then you will have an original bookshelf. In this case, it remains for you to process the appearance of the stairs and make fastenings. The rustic bookshelf is ready. As you can see, making shelves on the wall with your own hands is simple and easy, the following examples will once again confirm this.
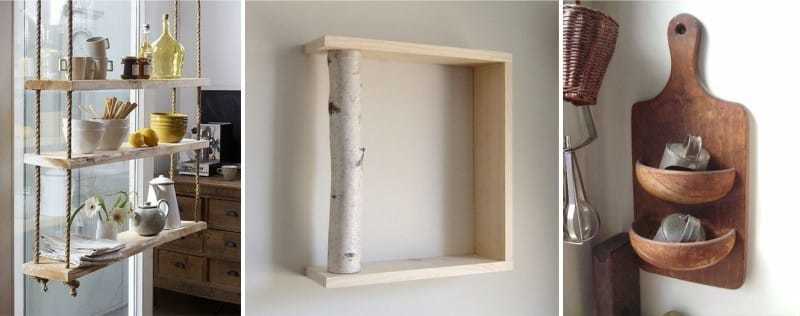
Perhaps you have there was a large coil in the pantry, on which a rope or wire was once wound. It could now make a great floor shelf. The coil needs to be processed, remove all irregularities, roughness. And then cover it with varnish. If you want to paint it, then it is better to treat it with a primer that will even out the wooden surface, then the paint will lie perfectly.
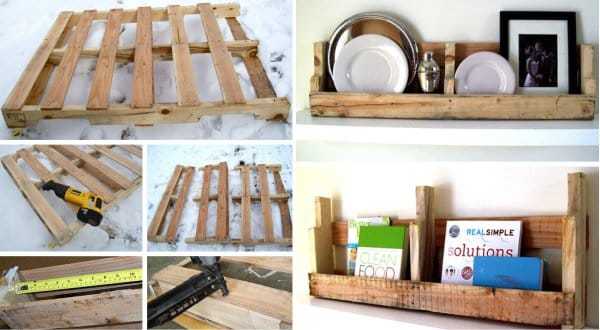
An old pallet that just takes up space, crafted painted, and sits upright on the ground makes a beautiful outdoor flower shelf. Designs of a different plan are created from them. Sawing the pallet into pieces, you get several shelves that can be hung on the wall, both outside and in the house. Here is yet another option for how to make shelves on the wall with your own hands.
Old water pipes, which have been collecting dust from time immemorial under the pretext of “might someday come in handy,” finally could come in handy! These pipes, which have a vintage look, make an excellent shelf for books or other things.

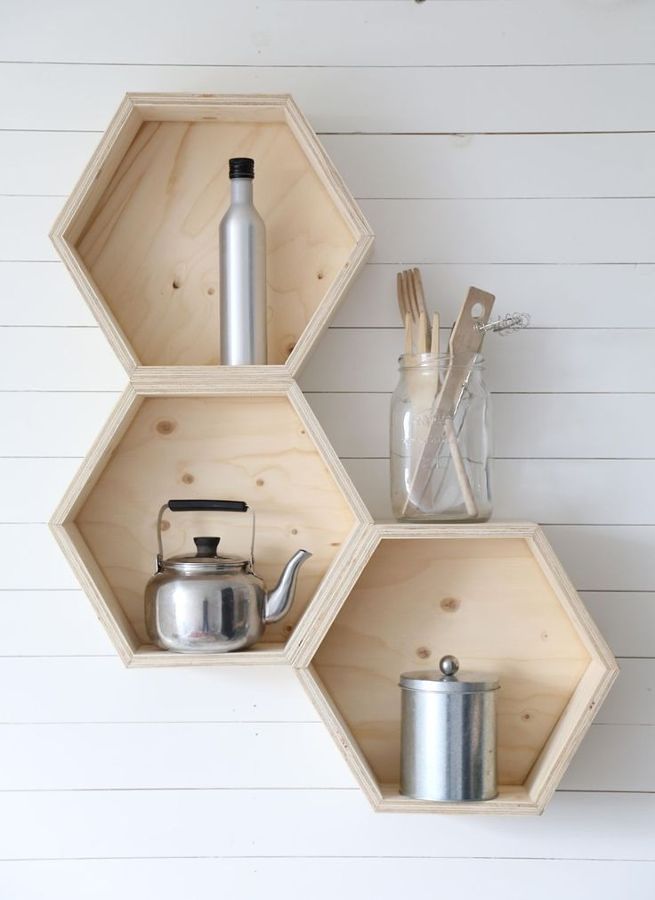
Check out how we made awesome DIY Honeycomb Shelf last week!
If you want to see more woodworking wizardry — check out our FREE 50 woodworking plans eBook 🙂
You can find the most unexpected things in your pantry or in the attic that can be used as shelves, giving things a second life.
In the background of the photo above, you could sneak a peek at our new DIY Picture Frame! Looks awesome, doesn’t it?
To buy or not to buy? That is the question…
You can not rack your brains and go on a trip to furniture stores, so as not to find there what might suit you. The option that you will be able to find the desired shelf is not excluded. But, most likely, it will be only somewhat-kinda similar to your imagined one and its cost, perhaps, will also not be what you expected. To save yourself from frustration and save some money along the way, you can make shelves with your own hands.
Why crafting a shelf yourself is a better option?
- DIY Shelves made from materials you have in your home or old unnecessary items can significantly reduce costs.
- The ability to create a unique, inimitable shelf design
- Reliable Build – Solid Construction
Materials needed to create a shelf with your own hands
For the creation of a shelf, you can use planks, bars, shock-resistant types of glass, pipe-remains, plastic parts, various wooden structures (food boxes, pallets, old TVs), chipboard, or even cardboard.

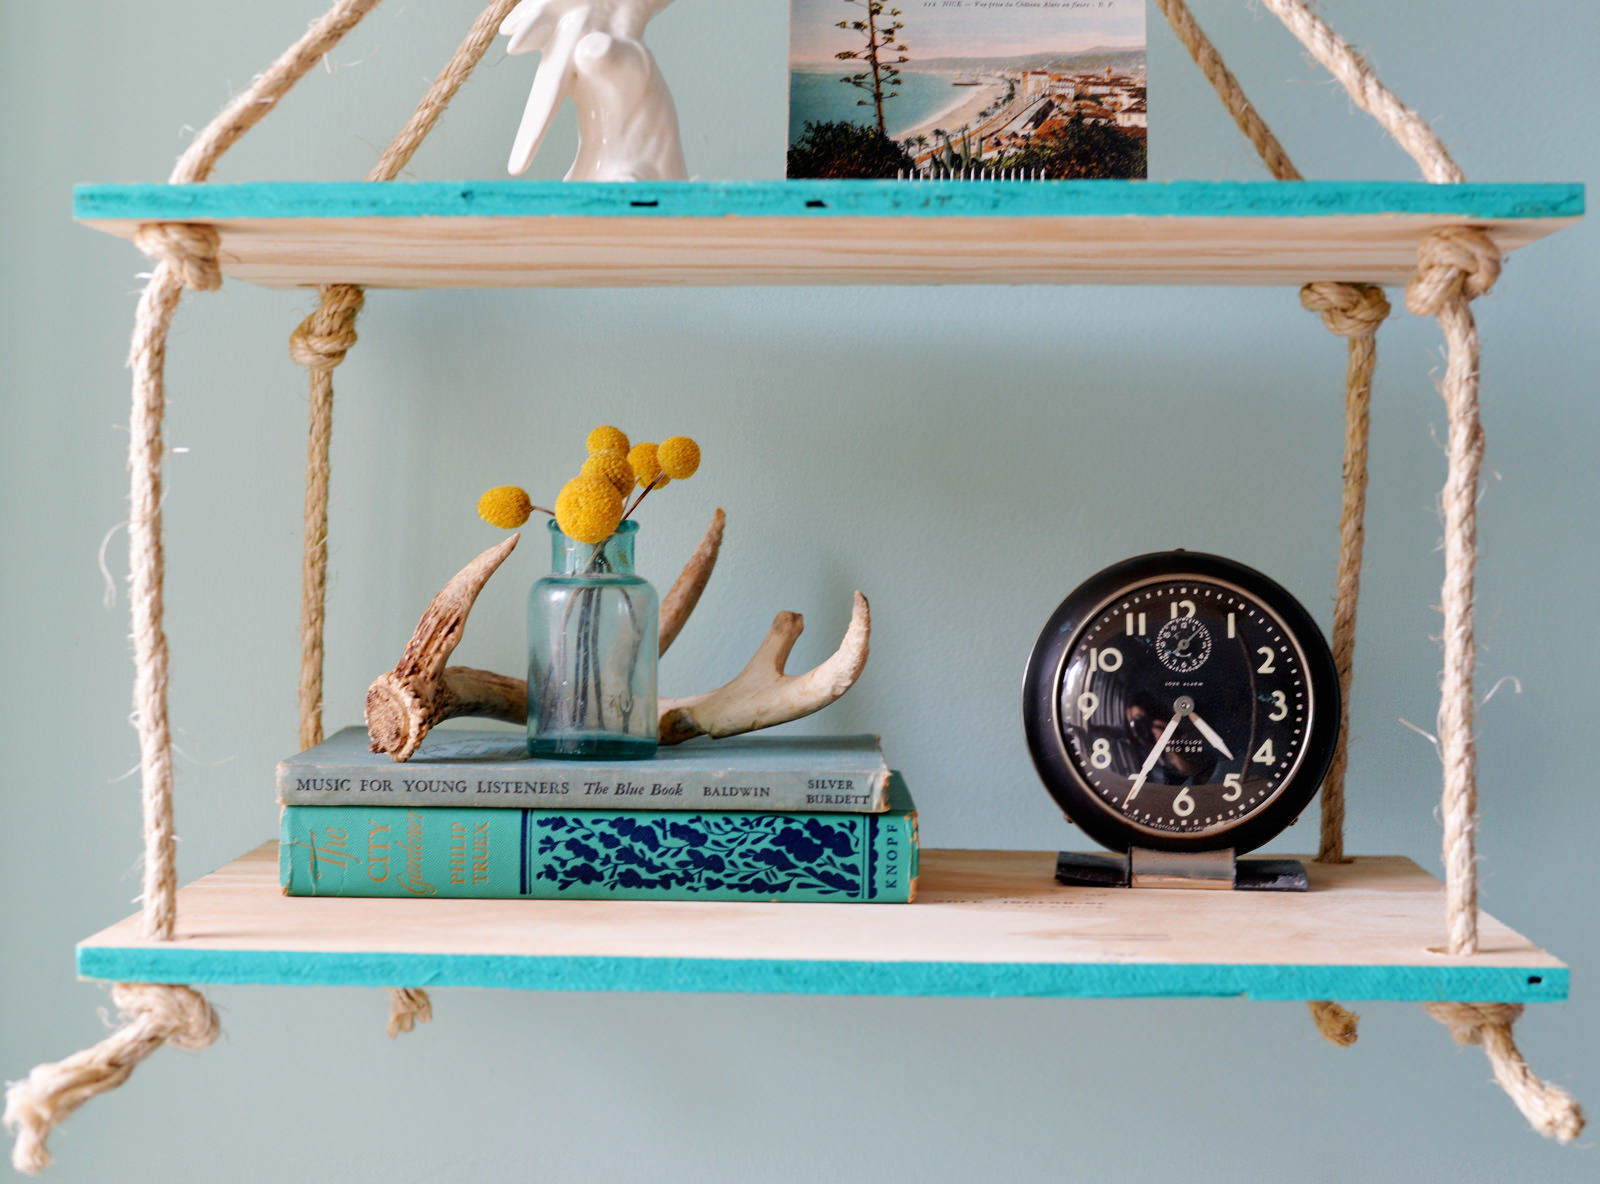
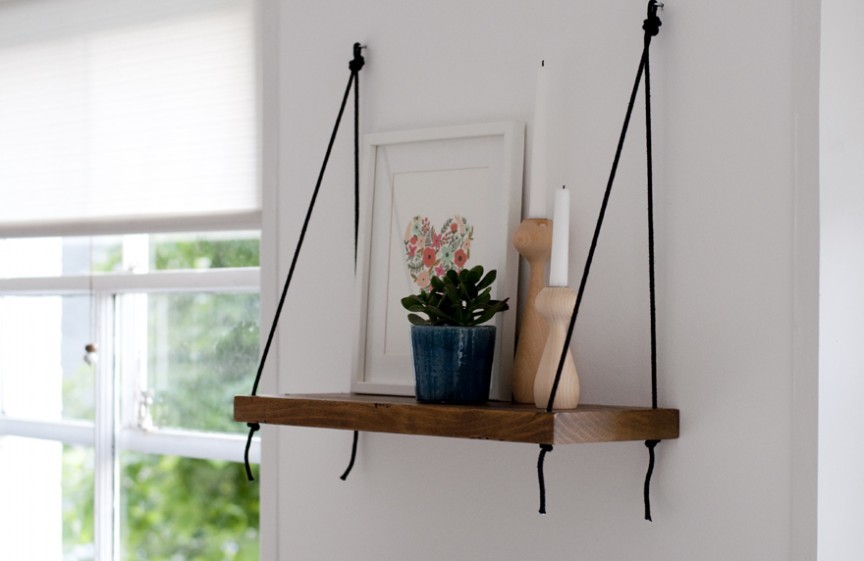
All parts of the shelf are attached to each other with screws or nails. But there is a rope way, when all the components of the structure are connected in sequence with a rope. Using bottles, preferably of the same size, is another original way of attaching each part of the shelf. And if you put lanterns in the bottles, then the shelf will take on an extraordinary look.
If you want to see more woodworking wizardry — check out our FREE 50 woodworking plans eBook 🙂
If you do not have the above materials, you should go to the hardware store to buy them. In the store, you can also buy fasteners, stain, primer, paint, nails or screws and whatever you need to make a shelf.

Required tools
You can’t put together a shelf with your bare hands. We will talk about the tool that is useful for making a shelf further.
- The very first woodworking tool that comes to mind is a jigsaw, but just a hand saw will do. The jigsaw is a convenient, dexterous, fast tool, with its help, blanks for the shelf will be made in a matter of minutes.
- A sander or sandpaper of different abrasiveness – will help to sand the surface of each shelf part. A sander can do this quickly, unlike pelts that take time to work with.
- Electric Drill – Helps to drill holes, both in the shelf components and in the wall for mounting.
- Screwdriver – necessary to screw in the screws, connecting the constituent parts of the shelf together. Evaluate the advisability of using a screwdriver if you need to tighten four self-tapping screws. You can handle them with a screwdriver.
- Self-tapping screws or Parker-screws for connecting elements. Upon completion of work on the shelf, they are masked with plugs matched to the color of the shelf.
- Varnish for wood coating – this coating must be of high quality. The shelf will be used regularly, so it should look as long as possible. We recommend an alkyd varnish for wood with a urethane additive for durability.
- Paintbrush – required for applying paint and varnish to the surface of the shelf. Choose a medium-sized brush.
- Set-square (aka Triangle) – is a special measuring tool, the design of which has a right angle. It allows you to check and position the shelf parts in relation to each other at right angles. If you don’t have a square in your arsenal of tools, you can use available tools: ceramic tiles, a sheet of cardboard, a photo frame, etc.
- Router (aka Manual milling cutter) – this tool will help to decorate the shelf with patterns, to give straight lines of non-standard shape. Decorative patterns add extra beauty to the shelf.
If you want to see more woodworking wizardry — check out our FREE 50 woodworking plans eBook 🙂
How to make a DIY floating shelf with your own hands: step by step instructions
Let’s try making a classic wooden wall shelf.
Step 1 – Determine the place
Where will the shelf be located? What material is needed? Its shape, design, and dimensions. If you use materials at hand to make it, determine the size, proceed from their size and quantity. Buying materials is different, you buy as much as you need.
Step 2 – Choosing wood planks
When choosing wooden planks, pay attention that they are the same color. When processing wood, dark fibers appear more. This stage must be taken responsibly, otherwise, you will get a shelf, the components of which will have a different look.
Step 3 – Layout and preparation of shelf parts for assembly
The boards are laid on a flat surface for work, after which the markings are transferred to them according to the drawing.
If you want to see more woodworking wizardry — check out our FREE 50 woodworking plans eBook 🙂

Step 4 – Check the correct markings
After you are sure of the accuracy of the cutting points, you can start cutting wood planks.
Step 5 – Sanding and varnishing
It’s time to start processing parts of the future shelf with skins or a sander. The surface of the wood must be flat, free from roughness so that the paintwork is light as well. After you have done sanding – don’t forget about varnish! And let it dry for a while afterward.
Step 6 – Assembly
After the parts of the shelf are dry, you can start assembling. The assembly begins with the bottom board, which is laid on a flat work surface. Markings are made on it for the holes. Go from the cutting line of the board approximately 8-10 mm in two places and draw a straight line parallel to the edge. Along the marked line, mark points at a distance of 5 centimeters from the edges of the board.
If you want to see more woodworking wizardry — check out our FREE 50 woodworking plans eBook 🙂
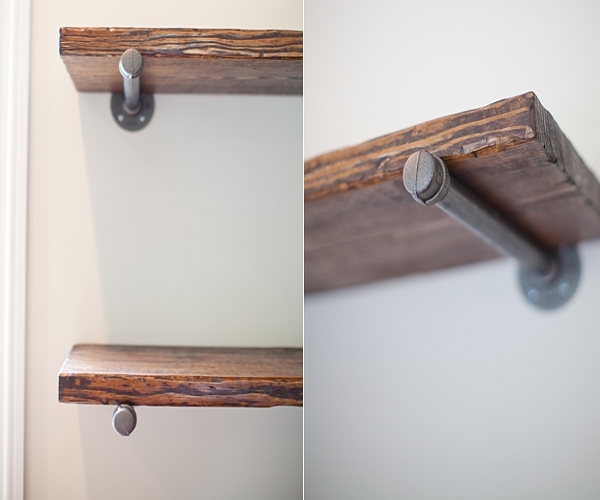
Drill holes for Parker-screws at these points. When the marks on the bottom shelf are ready, follow the same lines on the top of the shelf. The holes are ready, it remains to screw in the screws. Take the bottom of the shelf and set it perpendicular to the working surface.
After that, apply the sidewalls and fasten them. Set the resulting structure with the lower part on the table and fasten the upper part to the sides. Next, fasten fasteners to the sidewalls from the backside adjacent to the wall.
Shelf Decoration
Decorating is an equally important step in making bookshelves. Of course, you can leave it intact, but you can also use minimal decorative elements to add sophistication and uniqueness to your creation.
If you want to see more woodworking wizardry — check out our FREE 50 woodworking plans eBook 🙂
Let’s say you glue the front parts of the shelves with thin gold or silver stripes, which are sold in all stores where decorative items are offered. It is better to combine gold with the wood of light shades, and for dark shelves, you can pick up silver. You can also use fabric and rope.
It is also possible to apply drawings to the side parts of the shelf. Drawings are done with paint. They are made in the form of a mosaic from scrap materials (coffee, shells, rope). Visit a decorative shop and you will find that decorating a shelf is easy.
Unleash your inner-designer, crank up your imagination to decorate your home!
If you want to see more woodworking wizardry — check out our FREE 50 woodworking plans eBook 🙂
Let’s have a quick recap:
How to Make a DIY Floating Shelf – Step-by-step DIY guide (Summary)
-
Step 1 – Determine the place
-
Step 2 – Choose wood planks
-
Step 3 – Layout and preparation of shelf parts for assembly
-
Step 4 – Check the correct markings
-
Step 5 – Sanding and varnishing
-
Step 6 – Assembly
-
Step 7 – Decoration
-
Step 9 – Your DIY floating shelf is ready!
You are all done! Congrats!
If you want to see more woodworking wizardry — check out our FREE 50 woodworking plans eBook 🙂
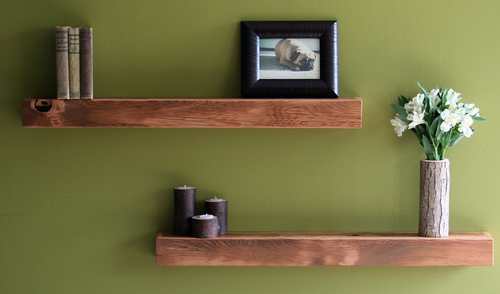
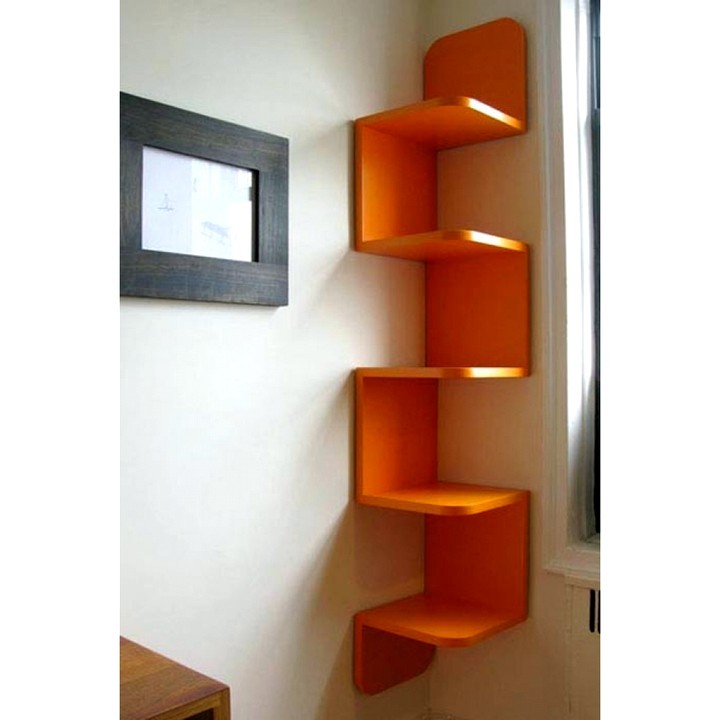
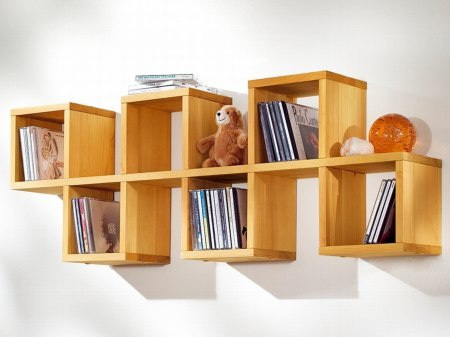
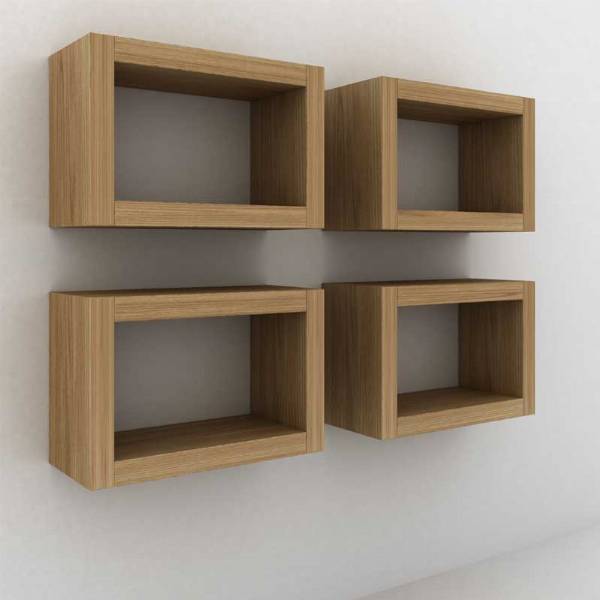
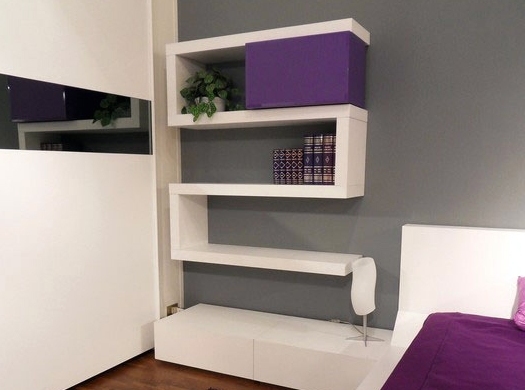
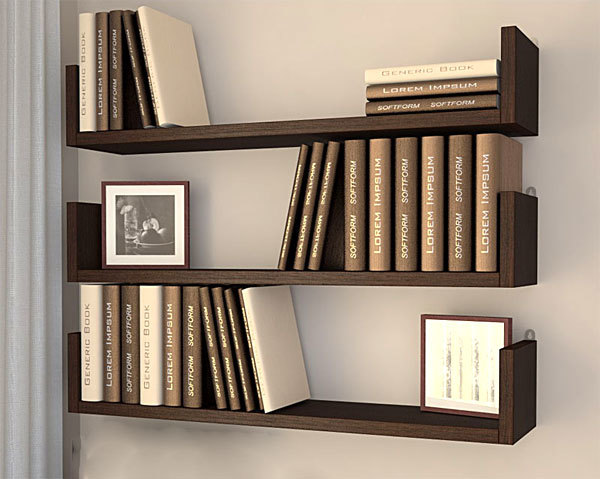
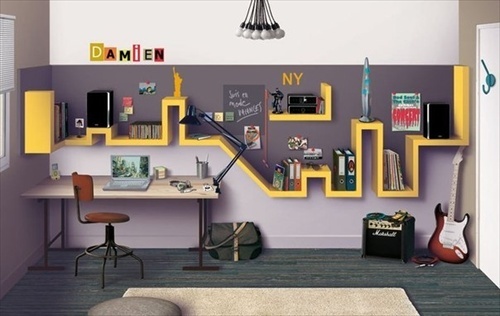
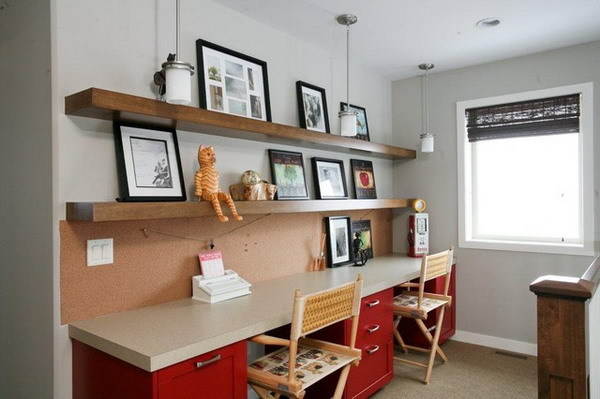
P.S. Bonus ideas for building DIY floating shelves and using them in the interior of your house or apartment:


If you want to see more woodworking wizardry — check out our FREE 50 woodworking plans eBook 🙂